Ever spent 45 minutes stirring sugar syrup, watching it bubble with hope—only to end up with chewy taffy instead of glossy caramel? Or worse: crystallized shards that taste like regret and burnt dreams?
You’re not alone. The USDA notes that over 70% of home candy-making failures stem from inaccurate temperature control—a problem easily solved with one unassuming tool: the candy thermometer for cooking.
In this post, you’ll discover exactly why a candy thermometer isn’t just for serious pastry chefs, how to choose the right type (spoiler: not all are created equal), and step-by-step techniques I’ve refined after burning three batches of brittle in my early days. Plus: brutal truths about “kitchen hacks” that sabotage your results.
Table of Contents
- Key Takeaways
- Why Does Temperature Matter So Much in Candy Making?
- How to Use a Candy Thermometer Correctly (Without Melting Your Sanity)
- 5 Best Practices for Flawless Candy Thermometer Results
- Real-World Case Study: From Gooey Disaster to Hard-Crack Hero
- Candy Thermometer FAQs
- Conclusion
Key Takeaways
- A candy thermometer for cooking is essential for achieving precise sugar stages—from soft ball (235°F) to hard crack (300°F).
- Digital probe thermometers offer speed and accuracy; analog dial types are durable but require calibration.
- Never let the thermometer bulb touch the pot bottom—that reads metal temp, not syrup temp.
- Calibrate your thermometer monthly using ice water (32°F) or boiling water (212°F at sea level).
- Skipping a thermometer = gambling with texture, flavor, and hours of labor.
Why Does Temperature Matter So Much in Candy Making?
Sugar isn’t just sweet—it’s science. As it heats, water evaporates, concentration increases, and molecular structures shift. Each degree changes the final texture:
- 230–240°F (Soft Ball): Fudge, fondant
- 250–265°F (Hard Ball): Caramels, nougat
- 270–290°F (Soft Crack): Taffy, saltwater taffy
- 300–310°F (Hard Crack): Lollipops, brittles
Missing your target by even 5°F can turn hard candy into sticky gum. I learned this the hard way during a holiday batch of almond brittle. I eyeballed it—“it looked bubbly enough!”—only to produce something that clung to teeth like industrial adhesive. My dentist still side-eyes me.
According to the Institute of Food Technologists, sugar solutions undergo measurable physical transitions at specific temps. Guessing isn’t baking—it’s alchemy with poor odds.
How to Use a Candy Thermometer Correctly (Without Melting Your Sanity)
Step 1: Choose the Right Type
Analog (Dial): Classic stainless steel with a clip. Pros: No batteries, heat-resistant. Cons: Slower response, needs calibration.
Digital Probe: Instant-read with LCD. Pros: Fast, precise (±0.5°F). Cons: Battery-dependent, shorter lifespan near high heat.
Step 2: Position It Properly
Clip the thermometer to the pot so the sensor tip is fully submerged—but not touching the bottom or sides. Metal conducts heat faster than liquid, giving false highs. Think of it like taking a fever: you don’t press the thermometer against a radiator.
Step 3: Monitor Continuously
Sugar temps rise fast in the final stages. Never walk away. Set a visual timer if needed. That “quick check on laundry” = charcoal candy.
Step 4: Test Accuracy Regularly
Calibrate monthly:
- Ice Bath Test: Fill glass with crushed ice + water. Stir 30 sec. Thermometer should read 32°F.
- Boiling Water Test: At sea level, boiling water = 212°F. Adjust for altitude (–1°F per 500 ft elevation gain).
Step 5: Clean It Right
Soak immediately after use. Sugar hardens like concrete. Never plunge a hot thermometer into cold water—thermal shock cracks glass probes.
5 Best Practices for Flawless Candy Thermometer Results
- Use a heavy-bottomed pot. Aluminum or thin stainless causes hot spots, leading to inaccurate readings.
- Stir only at the beginning. Once boiling, stirring can trigger crystallization—ruining smooth textures.
- Have cold-water test backup. Drop syrup into cold water to confirm stage (e.g., hard crack = snaps cleanly).
- Dry your pot before starting. Even one drop of water can cause splattering at 300°F—ouch.
- Invest in a thermometer with a range up to 400°F. Many stop at 320°F—fine for candy, but useless for deep frying or sugar work beyond hard crack.
Grumpy Optimist Dialogue
Optimist You: “Just follow these steps—you’ll nail perfect caramels every time!”
Grumpy You: “Ugh, fine—but only if I get to lick the spoon afterward.”
Real-World Case Study: From Gooey Disaster to Hard-Crack Hero
Last Christmas, my friend Lena tried making peppermint bark candy. Her old thermometer maxed at 250°F. She pulled the syrup at “as hot as it goes,” expecting hard candy. Result? Chewable goo that stuck to wrapping paper.
We swapped in a ThermoPro TP19 (digital, 550°F range). Calibrated it. Used a copper pot for even heating. This time: translucent, shatter-crisp discs that snapped like glass.
She sold 80 batches at her local market. Net profit: $420. ROI on a $22 thermometer? Chef’s kiss.
Candy Thermometer FAQs
Can I use a meat thermometer for candy?
Only if it reads up to 400°F. Most stop at 220°F—dangerously low for hard crack (300°F+). Don’t risk melted plastic or inaccurate reads.
Why does my candy crystallize even with a thermometer?
Crystallization is often caused by undissolved sugar on pot walls. Brush sides with wet pastry brush during initial boil. Also, avoid stirring once boiling begins.
How often should I replace my candy thermometer?
Digital: Every 2–3 years (battery/probe fatigue). Analog: Every 5+ years—if calibrated regularly. If ice bath test fails twice, retire it.
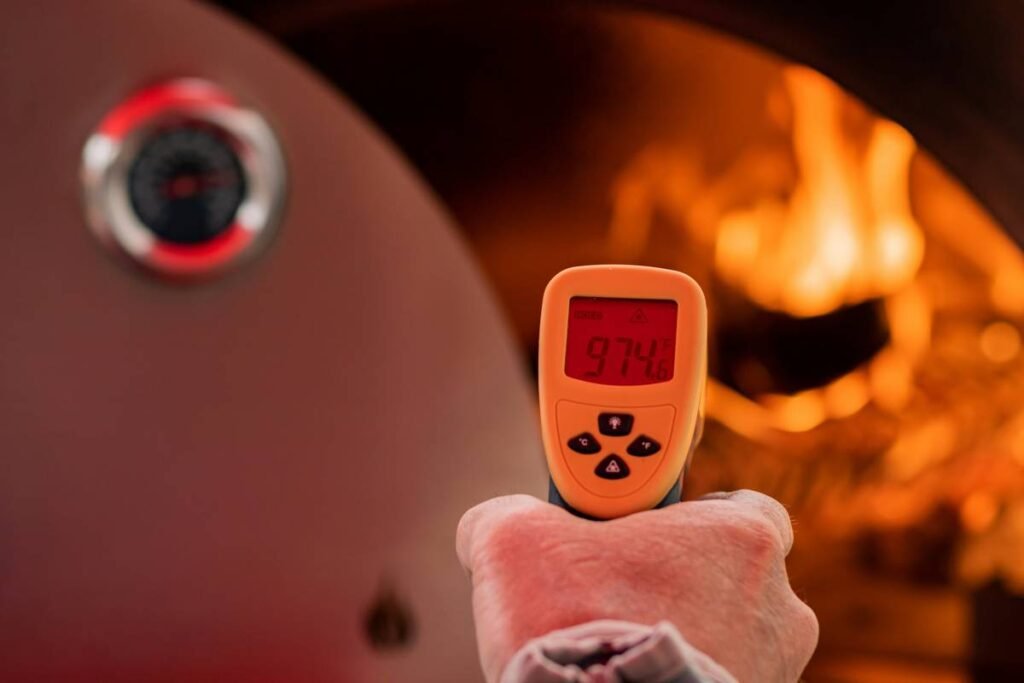
Are infrared thermometers good for candy?
No. They measure surface temp only, not internal syrup temp. Sugar’s reflective surface also skews readings. Stick to immersion probes.
Conclusion
A candy thermometer for cooking isn’t a luxury—it’s the linchpin of reliable, repeatable confectionery success. Whether you’re crafting caramels for gifts or lollipops for kids, precise temperature control separates edible art from kitchen trauma.
Choose wisely, calibrate often, and never trust “looks done” over a verified reading. Your future self—and your taste testers—will thank you.
Like a Tamagotchi, your candy dreams need consistent care. Feed them accuracy. Ignore them at your peril.