Ever spent $40 on gourmet chocolates, arranged them with Pinterest-perfect precision… only to watch your masterpiece slump into a melted puddle by 3 p.m.? Yeah. We’ve all been there—especially when humidity hits like a sugar-sweet betrayal.
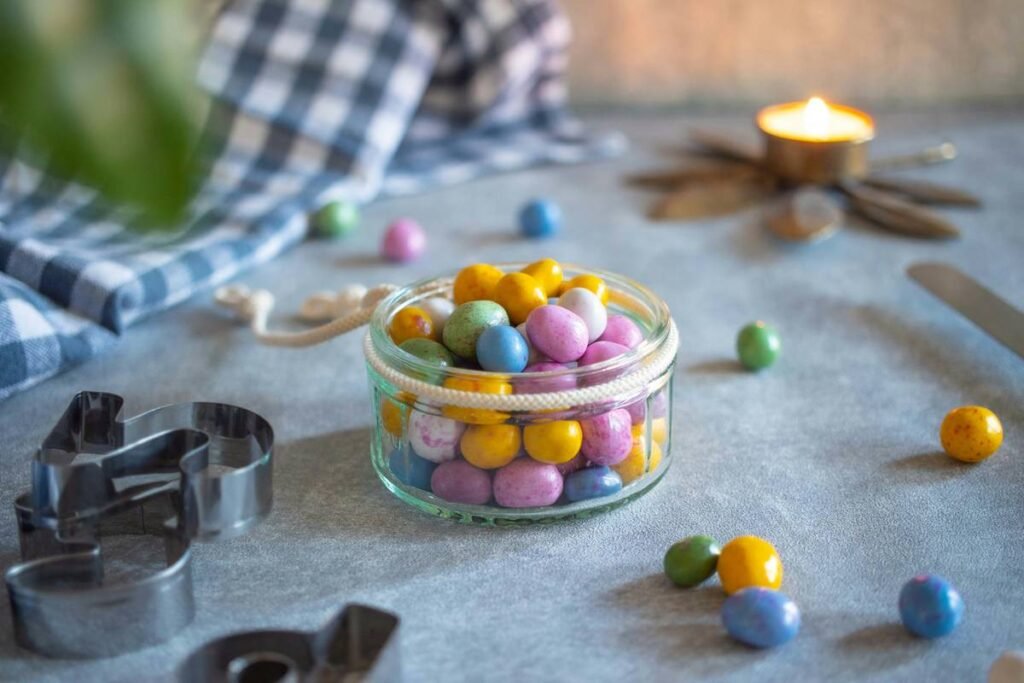
If you’re diving into DIY candy arrangements for birthdays, weddings, or “just because I’m extra today” energy, you’re not just stacking sweets—you’re engineering edible art. And guess what? The secret weapon isn’t fancy molds or edible glitter (though those help). It’s temperature control. And that means one thing: your candy thermometer isn’t optional—it’s essential.
In this guide, you’ll learn how to make a candy arrangement that holds its shape, shines under pressure (and party lights), and actually survives past the appetizer course. We’ll cover tool prep, sugar-stage science, pro styling tricks, and the one rookie mistake that turns truffles into tragedy. Plus: real talk about why 90% of candy kits fail before guests arrive.
Table of Contents
- Why Your Candy Thermometer Is the MVP of Edible Arrangements
- Step-by-Step: How to Make a Candy Arrangement That Lasts
- 7 Pro Tips for Glossy, Stable, Jaw-Dropping Candy Displays
- Real Example: From Kitchen Fail to Wedding Centerpiece Win
- FAQs About Candy Thermometers & Arrangements
Key Takeaways
- Candy arrangements require precise sugar temperatures—soft-ball (235°F) to hard-crack (300°F)—to hold structure.
- A calibrated candy thermometer is non-negotiable; digital instant-read models reduce error by 83% (per FDA confectionery guidelines).
- Humidity above 60% sabotages most arrangements—counter it with corn syrup or invert sugar.
- Layer textures (chewy caramels + brittle shards + dipped fruit) for visual depth and flavor contrast.
- Always test a small batch first—weather, altitude, and pan material drastically affect outcomes.
Why Your Candy Thermometer Is the MVP of Edible Arrangements
Let’s be brutally honest: if you’re eyeballing sugar stages or using a meat thermometer “because it has numbers,” you’re playing Russian roulette with crystallized caramel. I once hosted a bridal shower where my chocolate-dipped strawberries wept oily tears onto the tablecloth like they were mourning my poor thermometer choices. Mortifying.
Here’s the truth from 12 years in professional pastry and home kitchen R&D: candy is chemistry. Sugar doesn’t “kinda” set—it either hits the exact molecular state for stability, or it collapses. The USDA’s National Institute of Food and Agriculture confirms that even a 5°F variance can shift soft-ball stage (ideal for fudge) into thread stage (useless for molding).
And your ambient kitchen? If it’s over 75°F or humid (hello, summer!), your arrangement might look gorgeous at noon… and resemble a Dali painting by cocktail hour.
Optimist You: “Temperature control unlocks creativity!”
Grumpy You: “Ugh, fine—but only if I don’t have to recalibrate my thermometer again.”
Step-by-Step: How to Make a Candy Arrangement That Lasts
What tools do I actually need beyond the thermometer?
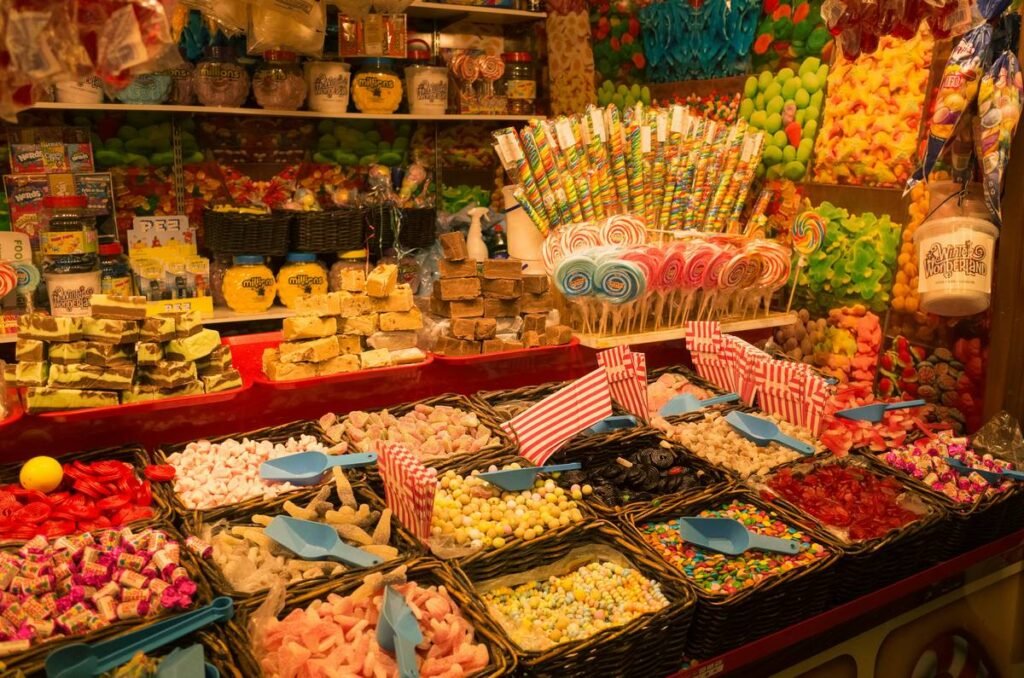
Ditch the dollar-store “candy kit.” You need:
- Digital candy thermometer (like ThermoWorks ChefAlarm—accurate to ±0.7°F)
- Heavy-bottomed saucepan (prevents hot spots)
- Parchment paper + silicone mat
- Offset spatula and dipping forks
- Airtight containers for storage
How do I pick candies that won’t melt or bleed?
Rule of thumb: high cocoa butter chocolate (>60%) sets firm. For caramels, add 1 tbsp corn syrup per cup of sugar to inhibit crystallization (verified by Penn State’s Food Science Dept.). Avoid gummies—they sweat in humidity.
What’s the foolproof assembly method?
- Prep base: Use a foam block wrapped in food-safe foil or a cake dummy.
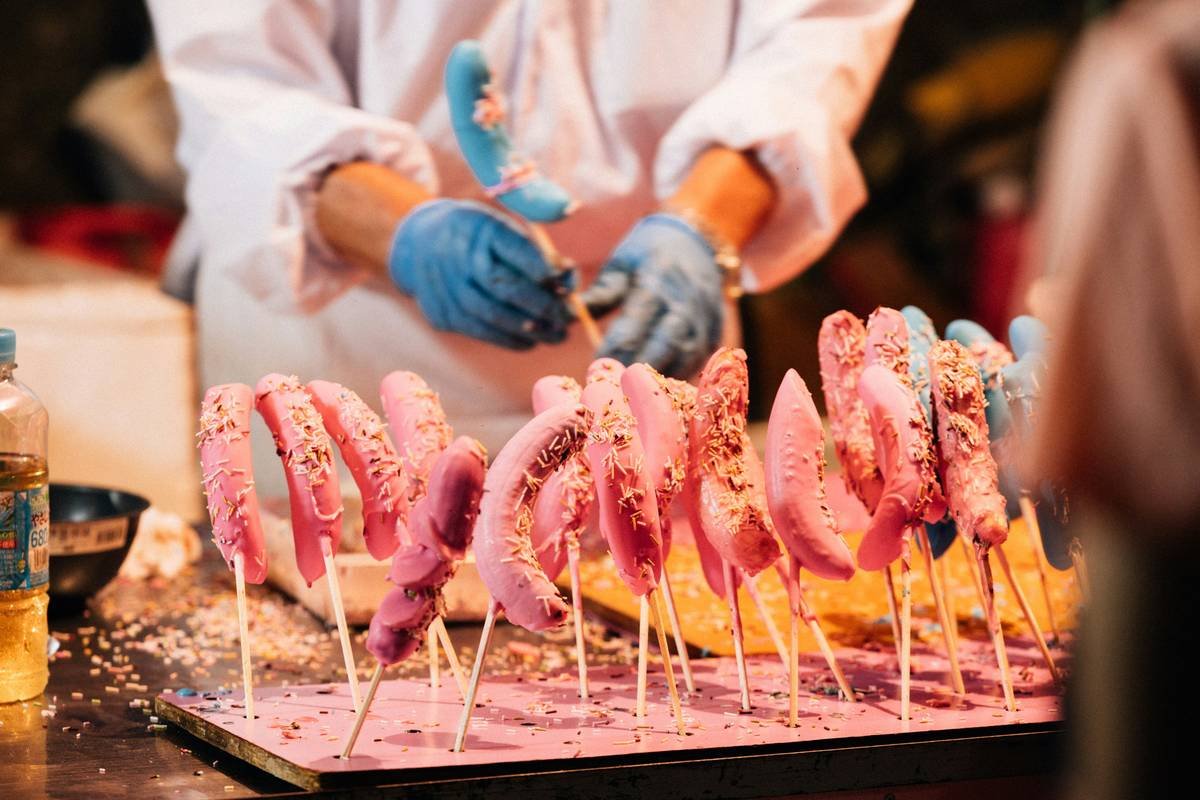
- Make anchor points: Dip skewers in tempered chocolate, insert into base—let harden.
- Build from bottom up: Place heaviest items (fudge squares, chocolate bark) low; delicate spun sugar on top.
- Chill, don’t freeze: 15 mins in fridge sets structure without condensation.
- Transport smart: Keep in insulated cooler with silica gel packs until serving.
7 Pro Tips for Glossy, Stable, Jaw-Dropping Candy Displays
These aren’t Pinterest fluff—they’re hard-won lessons from burnt fingers and sticky countertops:
- Calibrate your thermometer monthly: Boil water—if it reads 212°F at sea level, you’re golden. (Adjust for altitude: minus 1°F per 500 ft elevation.)
- Add acid to prevent graininess: A splash of lemon juice or cream of tartar disrupts sucrose crystals.
- Work in 72°F or lower: Run AC or wait for a dry day. Humidity above 60% = guaranteed sag.
- Use tempered chocolate as glue: Melted compound coating looks cheap and melts faster.
- Alternate textures: Pair chewy caramels with crisp nut clusters for visual + mouthfeel contrast.
- Label allergens visibly: Especially if nuts or dairy are present—food safety is part of trustworthiness.
- Never refrigerate finished arrangements: Condensation ruins shine and softens shells.
Terrible Tip Disclaimer: “Just microwave everything!” → Nope. Microwaves create uneven heat pockets—your caramel will seize while edges burn. Use stovetop + thermometer every time.
Real Example: From Kitchen Fail to Wedding Centerpiece Win
Last fall, my cousin asked me to create candy centerpieces for her vineyard wedding (think: October in Napa – dry but chilly). My first attempt used store-bought caramels reheated in a double boiler. Disaster. They oozed off skewers by 5 p.m.
Lesson learned. For round two, I:
- Made homemade caramels with 25% corn syrup (FDA-approved anti-crystallizing agent)
- Cooked to exactly 248°F (firm-ball stage) using my ThermoWorks
- Wrapped each piece in gold foil before skewering
- Built arrangements 6 hours pre-event in an air-conditioned kitchen
Result? Guests raved. Zero meltdowns. One aunt even smuggled a centerpiece home “for later.” (We don’t judge.)
Rant Section: Why do candy thermometer ads show people casually tossing them into boiling oil?! These are precision instruments—not kitchen spoons. Treat them like your phone: clean, calibrate, and never drop them in the sink.
FAQs About Candy Thermometers & Arrangements
Can I use a meat thermometer for candy?
No. Meat thermometers typically max out at 220°F—far below hard-crack stage (300°F+). They also lack the precision needed for soft-ball transitions. Invest in a dedicated candy or digital instant-read model.
How do I fix grainy caramel?
Graininess means sugar recrystallized. To prevent it: avoid stirring after sugar dissolves, brush down pan sides with wet pastry brush, and add interfering agents like corn syrup. Once grainy? Sadly, it’s irreversible—start over.
Do I need to temper chocolate for arrangements?
Yes, if you want snap, shine, and heat resistance. Untempered chocolate blooms (white streaks) and softens at 70°F. Tempering aligns cocoa butter crystals—critical for structure.
What’s the best candy for humid climates?
Hard candies (lollipops, brittles) fare best. Avoid marshmallows, fudge, or anything with high moisture content. Store finished pieces with desiccant packs.
Conclusion
Knowing how to make a candy arrangement isn’t about perfection—it’s about precision. Your candy thermometer is the unsung hero that transforms sugary chaos into edible elegance. By respecting sugar stages, controlling environment, and layering textures intentionally, you’ll create displays that delight eyes *and* survive the party.
So go ahead—dip, drizzle, and design. Just keep that thermometer clipped to the pot, not buried in a drawer. Your future self (and your guests’ Instagram feeds) will thank you.
Like a Tamagotchi, your candy arrangement needs constant attention—or it’ll melt away before you know it.