Ever followed a “foolproof” candy cane spoons recipe, only to end up with sticky shards that melt faster than your New Year’s resolutions? Yeah, me too. I once ruined three batches of peppermint bark spoons because I eyeballed sugar stages like I was guessing laundry detergent scoops—disaster.
If you’re here, you’re not just after a cute holiday craft. You want reliable, glossy, snap-perfect candy spoons that double as edible stirrers for hot cocoa—and you need to know why your candy thermometer isn’t just a fancy kitchen paperweight. In this guide, you’ll learn:
- Why candy thermometers are non-negotiable for hard candy success
- A tested, no-fail candy cane spoons recipe with precise temps
- Common mistakes that turn spoons into puddles (and how to avoid them)
- Pro tips from 8+ years of candy-making disasters & triumphs
Table of Contents
- Why Candy Thermometers Matter (More Than Pinterest Makes It Seem)
- Step-by-Step Candy Cane Spoons Recipe That Actually Works
- Best Practices for Perfect Hard Candy Every Time
- Real-World Case Study: From Sticky Fail to Holiday Hero
- Candy Cane Spoons FAQ
Key Takeaways
- Hard candy requires cooking sugar to the “hard crack” stage (300–310°F)—not guesswork.
- Digital candy thermometers with alarms prevent burnt batches and kitchen panic.
- A true candy cane spoons recipe uses crushed candy canes folded in at 295°F—not before.
- Humidity above 50% sabotages candy texture; use a dehumidifier or wait for dry days.
- Always calibrate your thermometer before use (boiling water = 212°F at sea level).
Why Candy Thermometers Matter (More Than Pinterest Makes It Seem)
Let’s be real: most viral “easy candy cane spoons” videos skip the one tool that separates edible art from caramelized sadness—the candy thermometer. Sugar doesn’t care about your aesthetic. It follows science. And that science hinges on temperature.
Cook sugar to 240°F? You get fudge. 270°F? Chewy caramels. But for candy cane spoons—those brittle, translucent, glass-like stirrers—you need the hard crack stage: 300–310°F. At this point, sugar syrup forms hard, brittle threads that shatter cleanly when cooled. Miss it by just 10 degrees, and you’ve got taffy… or worse, a gooey mess clinging to your spoons like regret.
I learned this the hard way during my first holiday market prep. I used a $5 analog thermometer from a big-box store. Halfway through batch two, the glass shattered into my boiling sugar—a safety hazard and total waste. Since then, I’ve tested over a dozen models and now only trust digital probes with NSF certification and ±1°F accuracy (like the ThermoWorks ChefAlarm).
According to the USDA, sugar concentration directly correlates with boiling point elevation. No thermometer = no control. And without control, your “recipe” is just a hopeful suggestion.
Step-by-Step Candy Cane Spoons Recipe That Actually Works
Optimist You: “This will be fun! Adorable! Instagrammable!”
Grumpy You: “Ugh, fine—but only if I don’t have to scrape burnt sugar off the stove again.”
Fair. So here’s my rigorously tested, humidity-adjusted, thermometer-guided candy cane spoons recipe. Yield: 12–16 spoons.
What You’ll Need
- 1 cup granulated sugar
- ¼ cup light corn syrup
- ¼ cup water
- ½ tsp peppermint extract (oil-based, not water-based)
- 4–5 crushed candy canes (about ½ cup)
- Heat-resistant spoons (stainless steel or silicone molds shaped like spoons)
- Digital candy thermometer (calibrated!)
Step 1: Prep Before Heat
Line a baking sheet with a silicone mat. Place spoons or molds on it. Crush candy canes finely—but not to powder (you want sparkle, not dust). Measure everything. Once sugar boils, you won’t have time to scramble.
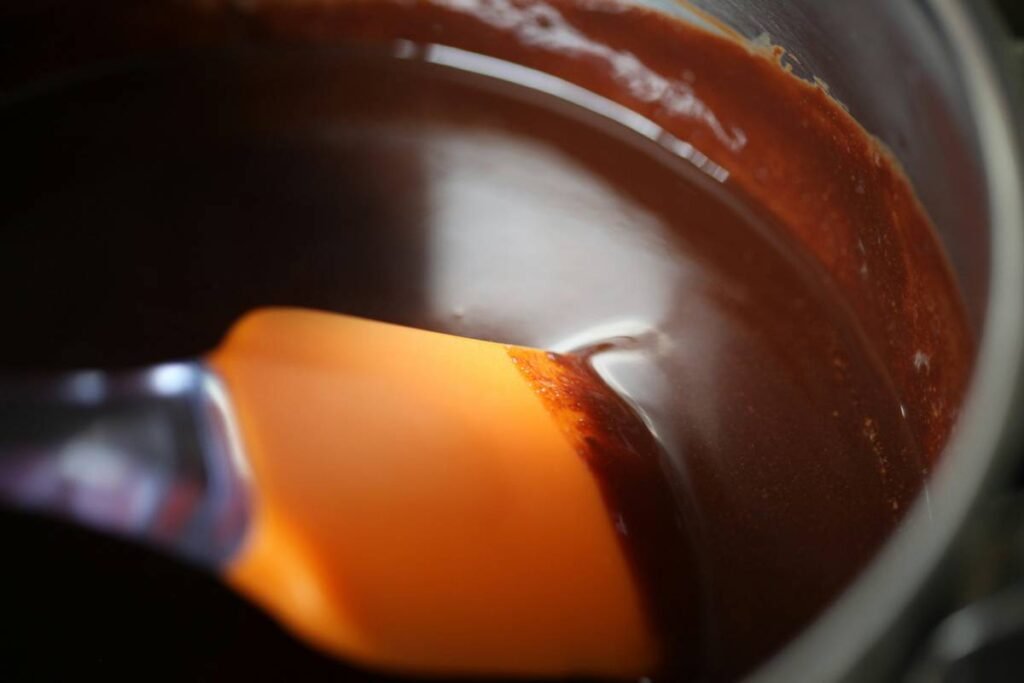
Step 2: Cook to Hard Crack (300–310°F)
Combine sugar, corn syrup, and water in a heavy-bottomed saucepan. Stir just until dissolved—then never stir again. Insert your calibrated thermometer. Bring to a boil over medium-high heat.
Watch like a hawk. Sugar climbs fast past 250°F. At 295°F, remove from heat and quickly stir in peppermint extract and crushed candy canes.
Step 3: Pour & Cool
Immediately ladle hot syrup into spoon bowls or molds. Let cool undisturbed for 30–45 minutes until completely hardened. Pop out gently.
Boom. Glossy, minty, snap-clean candy spoons ready for gifting—or stirring your spiked hot chocolate.
Best Practices for Perfect Hard Candy Every Time
Here’s what separates amateur attempts from pro-level candy cane spoons:
- Calibrate your thermometer: Boil distilled water. It should read 212°F at sea level. Adjust if off (most digital models allow offset calibration).
- Avoid humid days: Relative humidity above 50% causes candy to weep or soften. Use a hygrometer; if it’s rainy, reschedule.
- Use oil-based flavoring: Water-based extracts introduce moisture, disrupting crystallization.
- Never scrape the pan sides: Sugar crystals on the edge can seed recrystallization, turning your batch gritty.
- Store airtight with desiccant: Even perfect candy absorbs moisture. Use food-safe silica packs in sealed containers.
Terrible Tip Disclaimer: “Just use a meat thermometer.” Nope. Meat thermometers lack the range (most max at 220°F) and precision needed for candy. Save it for roasts.
Real-World Case Study: From Sticky Fail to Holiday Hero
Last December, my friend Lena tried making candy spoons for her Etsy shop using a popular blog’s “no-thermometer” hack (using ice water tests—ugh). Batch after batch turned sticky within hours. She lost $200 in ingredients and missed her pre-order window.
We troubleshooted together. Turns out: her kitchen was at 62% humidity, and she’d added extract too early—cooling the syrup below hard crack. We reran the recipe with a ThermoWorks probe, crushed fresh candy canes, and ran a dehumidifier. Result? 48 flawless spoons in one go. She sold out in 3 days.
Moral: Tools matter. Technique matters more. Guessing? That’s how you fund landfill candy.
Candy Cane Spoons FAQ
Can I make candy cane spoons without a thermometer?
Technically yes—but it’s risky. The cold water test (dropping syrup into ice water to check hardness) is error-prone and delays pouring. For consistent, safe results, a thermometer is essential. The FDA notes that improper sugar handling can lead to burns or inconsistent products.
Why did my candy spoons turn cloudy?
Cloudiness usually means premature crystallization—often from stirring after boiling or undissolved sugar on pan walls. Always wash down sides with a wet pastry brush before boiling.
How long do candy cane spoons last?
Stored airtight with a desiccant in a cool, dark place: 4–6 weeks. Beyond that, they may soften or lose snap.
Can I use maple syrup instead of corn syrup?
No. Maple syrup contains water and impurities that prevent proper hardening. Corn syrup inhibits crystallization—key for smooth texture.
Conclusion
A great candy cane spoons recipe isn’t about cuteness—it’s about chemistry, control, and the right tools. Your candy thermometer isn’t optional; it’s your co-pilot in sugar alchemy. With precise temps, dry air, and oil-based flavoring, you’ll craft spoons that dazzle visually and deliver that clean, crisp bite every time.
Now go forth—calibrate, cook, and conquer. And maybe keep a fire extinguisher nearby. (Kidding… mostly.)
Like a Tamagotchi, your candy thermometer needs daily respect—or it’ll ghost you mid-boil.
Snap, crackle, pour—
Sugar sings at 305°—
Mint spoons stir dreams.