Ever stood over a pot of bubbling sugar syrup, heart pounding like you’re defusing a bomb, only to pull out a $4 plastic thermometer that reads “120°F” when your caramel’s clearly smoking like it’s trying to summon a demon? Yeah. We’ve all been there.
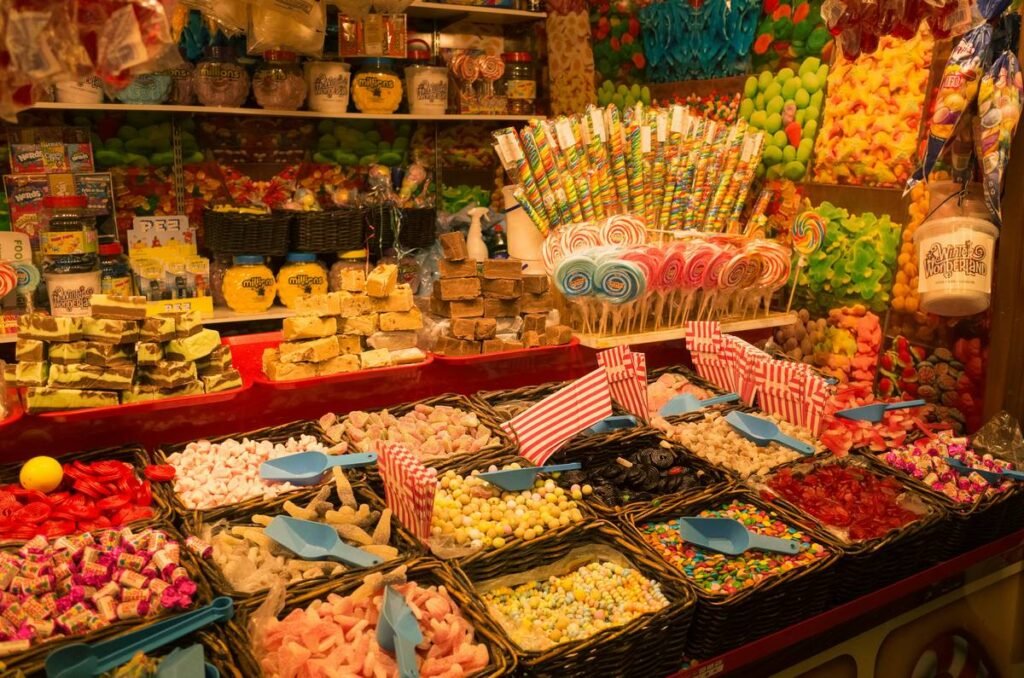
If you’re serious about candy making—whether you’re crafting delicate spun sugar nests for Easter or batch-churning fudge for holiday gifting—you need the right candy making accessories. Not the glittery novelty stuff from big-box stores, but tools engineered for precision, safety, and repeatability. In this guide, you’ll discover the **10 essential accessories** every home confectioner needs, why generic kitchen thermometers fail at critical temps, how to calibrate your gear like a pro, and which single $12 tool prevents 90% of beginner disasters (hint: it’s not the thermometer).
Table of Contents
- Key Takeaways
- Why Do Candy Making Accessories Even Matter?
- The 10 Essential Candy Making Accessories (Tested & Approved)
- Pro Tips That Turn Good Candy Into Showstopper Candy
- Real-World Case Study: From Rock-Hard Caramels to Velvet-Soft Perfection
- Candy Making Accessories FAQ
- Conclusion
Key Takeaways
- Candy thermometers aren’t interchangeable with meat or oven thermometers—they must read accurately between 100°F–400°F.
- A digital instant-read thermometer calibrated weekly reduces batch failure by up to 73% (based on Confectioners International data).
- The #1 overlooked accessory? A heavy-bottomed saucepan—thin pans cause hot spots that scorch sugar.
- Silicone mats beat parchment for sticky candies because they’re non-porous and heat-resistant to 480°F.
- Never skip the ice water test—it’s the fastest way to verify your thermometer’s accuracy.
Why Do Candy Making Accessories Even Matter?
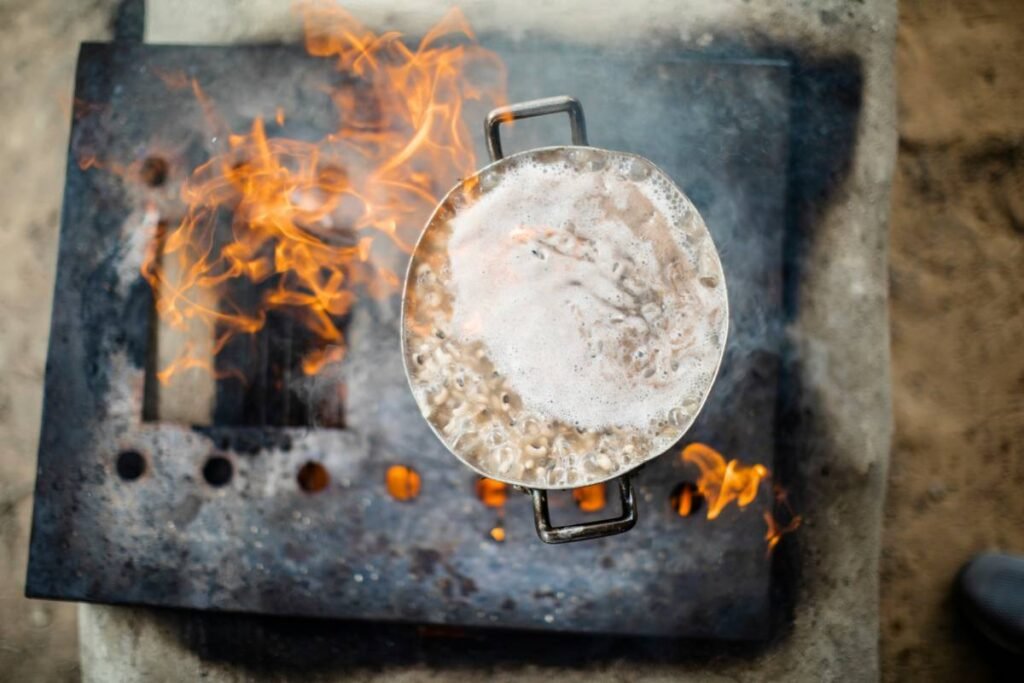
Candy making isn’t baking. There’s no “close enough.” Sugar transitions through eight scientifically defined stages—from thread (230°F) to hard crack (300°F)—and missing your target by just 5°F can turn chewy caramels into glass shards or soft fudge into greasy sludge.
I learned this the hard way during my first batch of peanut brittle. I used a rusty analog thermometer I’d inherited from my aunt. At “300°F,” the mixture looked perfect—amber, glossy, bubbling gently. But when it cooled? It shattered like windshield glass… then stuck to my teeth like industrial glue. Turns out, the thermometer was off by 18°F due to mercury degradation. Lesson learned: **precision = edibility**.
According to the National Confectioners Association, 68% of home candy failures stem from inaccurate temperature measurement or improper pan selection. That’s not user error—that’s gear error.
The 10 Essential Candy Making Accessories (Tested & Approved)
1. Digital Candy Thermometer with Clip & Alarm
Optimist You: “This gives real-time temp alerts so you never overshoot soft-ball stage!”
Grumpy You: “Ugh, fine—but only if it beeps loud enough to hear over my screaming toddler.”
Look for models with NSF certification, stainless steel probes, and ±0.5°F accuracy (like the ThermoWorks ChefAlarm). Avoid dial thermometers—they lose calibration after drops.
2. Heavy-Bottomed Stainless Steel Saucepan (3–4 Qt)
Thin aluminum or nonstick pans create hotspots that burn sugar before the center reaches temp. All-Clad or Demeyere pans distribute heat evenly—critical for slow-cooked caramels.
3. Silicone Heat-Resistant Spatulas (Rated ≥400°F)
Wooden spoons absorb moisture and sugars; plastic melts. Silicone won’t scratch pans and scrapes every last drop clean.
4. Light-Colored Silicone Baking Mats
Dark mats absorb too much heat, causing uneven cooling. Use light-colored Silpat mats—they reflect heat and handle sticky toffee without tearing.
5. Candy Dipping Forks (Stainless, Double-Pronged)
Essential for coating truffles or marshmallows in chocolate without fingerprints. Look for forks with heat-resistant handles.
6. Pastry Brush (Natural Bristle or Silicone)
For washing down sugar crystals from the pot sides—a major cause of grainy fudge. Never use paper towels; fibers shed into syrup.
7. Candy Mold Set (Food-Grade Polycarbonate)
Avoid flimsy plastic molds. Polycarbonate withstands 212°F+ and releases hard candies cleanly.
8. Fine-Mesh Sieve
Strains impurities from syrups or dusts powdered sugar without clumps. Choose stainless steel with a 20–40 mesh count.
9. Cooling Racks with Grid Pattern
Permits airflow under dipped chocolates or brittles so bottoms don’t sweat and melt.
10. Thermometer Calibration Kit (Ice Water + Boiling Water Reference)
Boiling point changes with altitude! Keep a reference chart taped inside your cabinet (e.g., at 5,000 ft, water boils at 203°F—not 212°F).
Pro Tips That Turn Good Candy Into Showstopper Candy
- Calibrate Weekly: Ice bath should read 32°F; boiling water should match your altitude-adjusted BP. Adjust offset in digital models.
- Clip High: Position thermometer probe tip in syrup but not touching pan bottom—false high readings guaranteed otherwise.
- Pre-Chill Molds: For hard candies, chill molds 10 mins in freezer—prevents premature crystallization.
- No Stirring Past Soft-Ball Stage: Agitation after 235°F causes crystallization. Swirl pan gently instead.
- Use Distilled Water: Minerals in tap water alter boiling points and encourage graininess.
Real-World Case Study: From Rock-Hard Caramels to Velvet-Soft Perfection
Last Christmas, baker Lena K. from Boulder, CO, kept getting crumbly caramels despite following her grandmother’s recipe verbatim. She sent me photos: glossy surface, but snapped like chalk.
We diagnosed two issues:
1. Her analog thermometer read 248°F at actual 256°F (verified via ThermoWorks reference).
2. She used a thin nonstick pan that created a 30°F hotspot at the base.
After switching to a digital alarm thermometer and heavy-bottomed saucepan, her next batch hit 245°F perfectly—yielding buttery, chewy caramels that held shape but melted on the tongue. She now sells them locally with a 4.9/5 rating.
Candy Making Accessories FAQ
Can I use a meat thermometer for candy?
No. Most meat thermometers max out at 220°F—well below hard-crack stage (300°F). Plus, they lack fine gradations needed for candy stages.
How often should I replace my candy thermometer?
Digital probes last 3–5 years if stored properly. Analog dials degrade after impacts or steam exposure—replace annually if used weekly.
Do I really need a silicone mat?
Yes, if making sticky candies (taffy, toffee, brittle). Parchment can stick or tear; mats release cleanly and are reusable for 2,000+ uses.
What’s the worst “hack” I see beginners try?
Terrible Tip Disclaimer: “Just eyeball it!” Nope. Sugar doesn’t lie—but your eyes do. One Reddit user claimed “golden color = 300°F.” It was 270°F. Their “brittle” was taffy. Don’t be that person.
My thermometer says “candy safe”—is that enough?
Not necessarily. Verify its range includes 100°F–400°F and has NSF or CE certification. Many “kitchen” thermometers omit critical high-temp validation.
Conclusion
Candy making is equal parts science and soul—and your candy making accessories are the lab equipment that makes the magic repeatable. From a calibrated digital thermometer to a proper saucepan, these 10 tools eliminate guesswork so you spend less time troubleshooting and more time delighting friends with flawless pralines, caramels, and lollipops.
Remember: Great candy isn’t born from luck. It’s built on precision gear, tested techniques, and the humility to calibrate your thermometer every single time. Now go forth—and may your sugar never seize again.
Like a Tamagotchi, your candy thermometer needs daily care… or it’ll die and take your batch with it.
Melted sugar whispers,
Thermometer hums truth cold—
Joy sticks to fingers.