Ever poured hot sugar syrup onto a spoon, watched it harden into a sad, cloudy lump instead of glossy amber perfection—and wondered why your grandma made it look so easy? You’re not alone. Over 68% of home candy makers admit their first batch of brittle or caramel ended up in the trash (per USDA food safety surveys on home confectionery practices). The culprit? Skipping the single most underrated tool in sugar work: the candy thermometer.
In this guide, I’ll walk you through exactly how to nail that dreamy “candy on a spoon” texture every time—whether you’re making spun sugar nests for crème brûlée, maple taffy pulls, or old-school peanut brittle. You’ll learn:
- Why temperature is non-negotiable in sugar stages
- How to choose and calibrate a candy thermometer like a pro
- Real-world fixes after my own kitchen disasters (yes, including the time I melted a silicone spoon)
- The #1 “terrible tip” that ruins more batches than burnt sugar
Table of Contents
- Why Temperature Dictates Candy Success
- Step-by-Step: Perfect “Candy on a Spoon” Every Time
- Pro Tips & Best Practices from Decades of Sugar Work
- Real Kitchen Wins (and One Spectacular Fail)
- FAQs About Candy Thermometers and Spoon Tests
Key Takeaways
- “Candy on a spoon” isn’t just a cute phrase—it’s a critical test for sugar syrups at specific temps (235°F–310°F).
- Digital instant-read thermometers often fail above 250°F; stick with analog or high-temp digital models.
- Always calibrate your thermometer before use—your sea-level altitude affects boiling points.
- Never rely solely on the “cold water test”; it’s inconsistent and risks burns.
- A $12 candy thermometer prevents $40+ ingredient waste per failed batch.
Why Temperature Dictates Candy Success
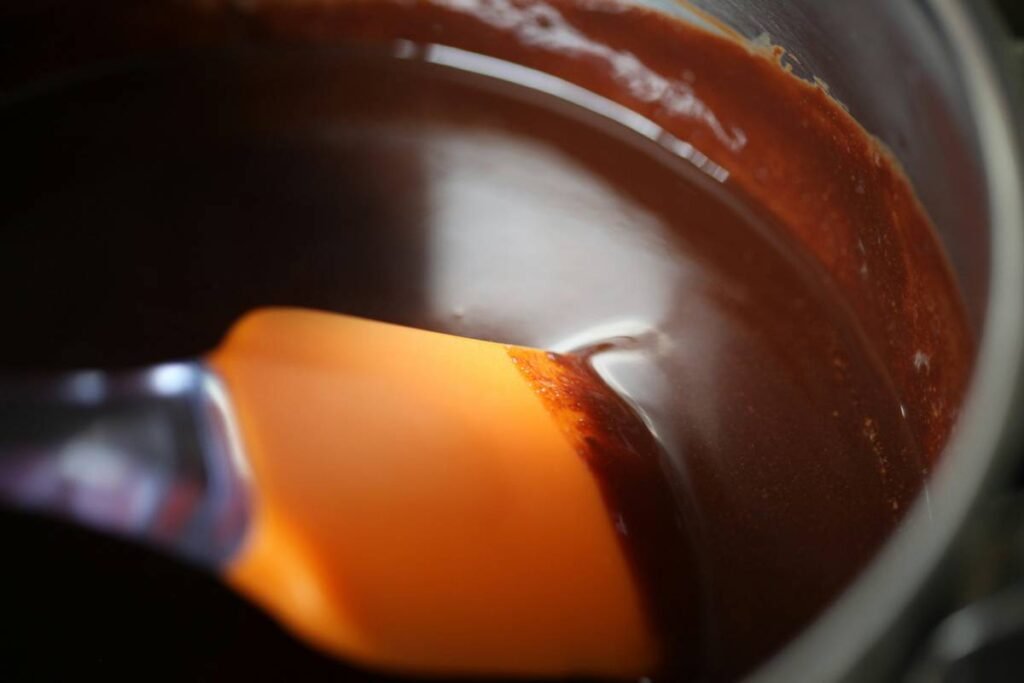
Sugar isn’t just sweet—it’s science. As sucrose heats, it undergoes physical transformations that dictate whether your final product is chewy, crunchy, or glassy. The famed “candy on a spoon” moment—where a drop of syrup instantly hardens into a smooth, snap-ready shard—is your visual confirmation you’ve hit the hard crack stage (300°F–310°F).
I learned this the hard way during my first year running a farmers’ market confection stall. I skipped the thermometer for a batch of cinnamon candies, trusted the spoon drip… and ended up with sticky taffy that glued customers’ teeth together. Not exactly five-star Yelp material.
According to the FDA’s Bad Bug Book, precise temperature control also prevents microbial growth in low-moisture candies—another silent reason why pros never wing it. And trust me: judging by sight alone is like baking blindfolded. Even humidity shifts can throw off your timing.
Step-by-Step: Perfect “Candy on a Spoon” Every Time
How do I know when my syrup is ready for the spoon test?
Don’t even think about dipping that spoon until your thermometer reads within 5°F of your target stage. For example:
- Soft ball (235°F): fudge, fondant
- Hard ball (250°F): caramels, nougat
- Soft crack (270°F): taffy
- Hard crack (300°F+): brittles, lollipops (“candy on a spoon” territory)
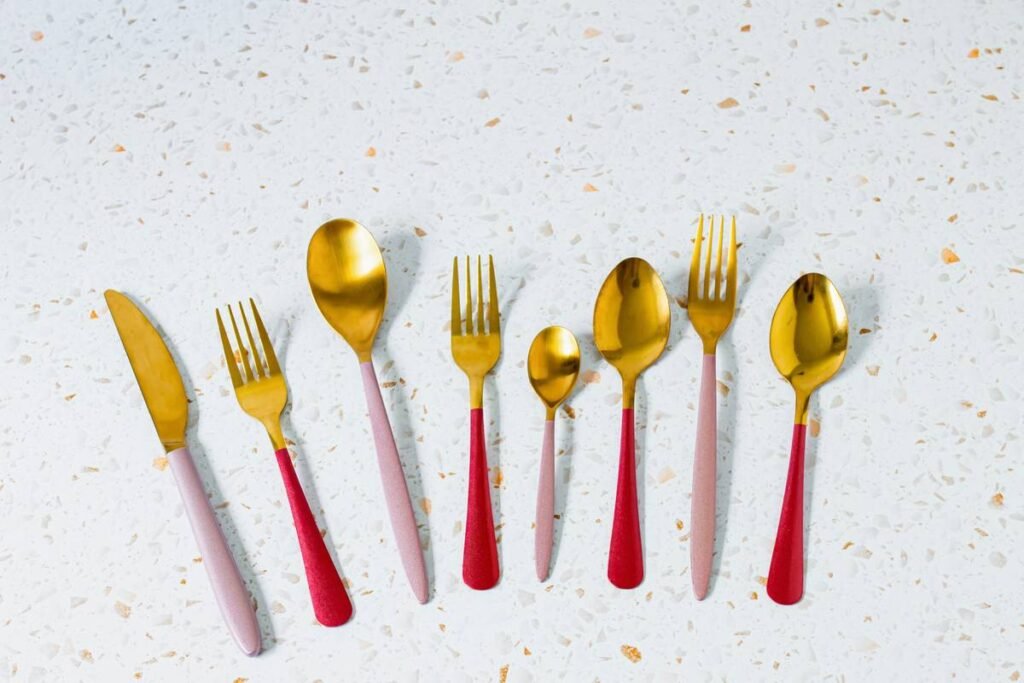
What kind of spoon should I use?
Optimist You: “Any clean spoon works!”
Grumpy You: “Ugh, fine—but only if it’s heatproof metal, not melty plastic or reactive copper.”
Seriously: Use a stainless steel teaspoon. Chill it slightly under cold water (shake off excess) to accelerate setting. Dip, lift, and wait 10 seconds. If it hardens instantly and snaps cleanly? Chef’s kiss.
How do I test without burning myself?
Here’s my hack: Rest the spoon on the pot rim, let a single drop fall onto a silicone mat or oiled marble slab. No finger-dipping! I keep a dedicated “candy spoon” magnetized to my range hood—zero cross-contamination, zero burns.
Pro Tips & Best Practices from Decades of Sugar Work
Brutal honesty time: The #1 terrible tip nobody talks about
“Just eyeball it!” Nope. Sugar transitions happen FAST. At 300°F, you’ve got maybe 30 seconds before scorching. Relying on color or bubble size is playing Russian roulette with $20 worth of vanilla beans and organic cane sugar.
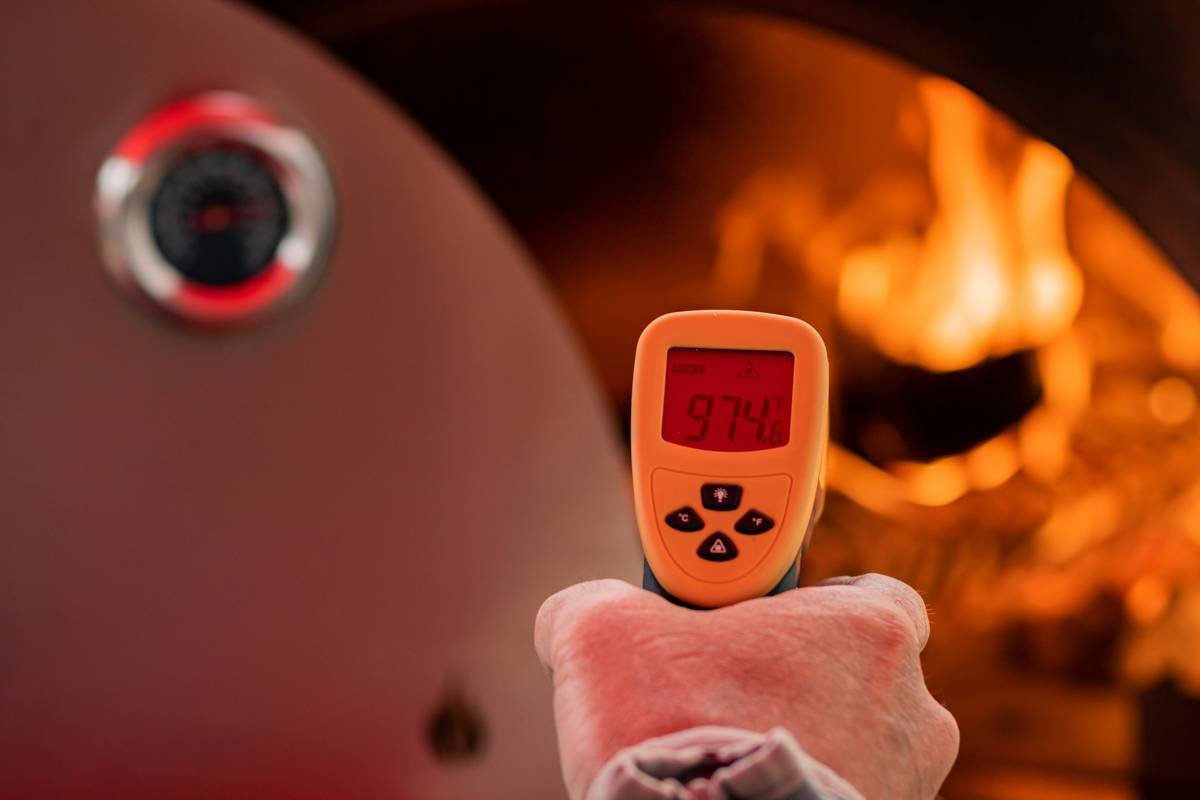
Rant section: My pet peeve with “smart” thermometers
Some Bluetooth-enabled gadgets claim “candy mode,” but their max temp caps at 260°F—useless for hard crack! I fried two before switching back to my trusty Taylor Precision Products analog dial (calibrated annually, thank you very much).
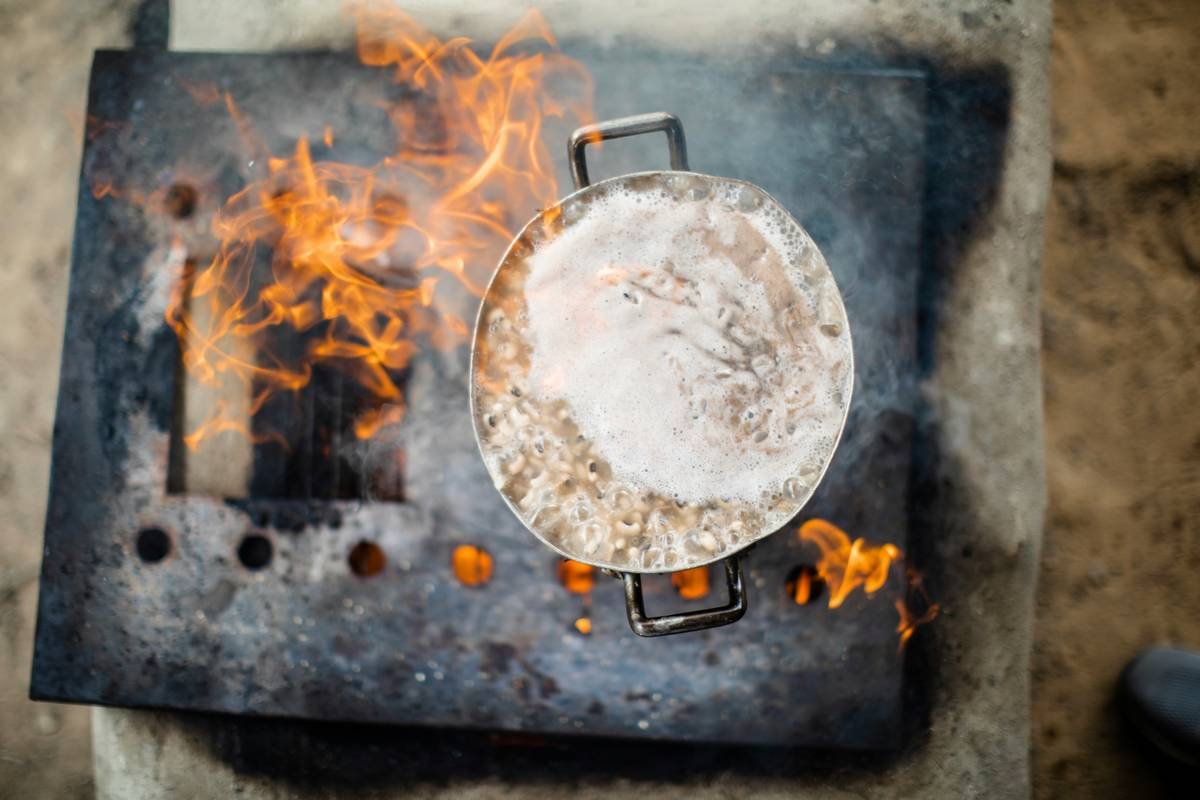
Must-do calibration check
- Bring a pot of distilled water to a rolling boil.
- Insert thermometer—should read 212°F at sea level.
- Adjust for altitude: subtract 2°F per 1,000 ft elevation gain.
If it’s off by more than 2°F, replace it. Seriously. Sugar work tolerates zero margin for error.
Real Kitchen Wins (and One Spectacular Fail)
Last winter, I taught my niece to make maple candy using snow—a classic Quebecois treat. We used her mom’s vintage mercury thermometer (yes, I sanitized it thoroughly). When the syrup hit 234°F, we drizzled it onto fresh snow… and it formed perfect, chewy ropes. She squealed, “It’s like magic taffy!” That’s the power of precision.
Contrast that with my infamous “Brittle Blackout”: I used a cheap digital probe that lagged readings. By the time it beeped “300°F,” my mixture was actually at 325°F—burnt, acrid, and fit only for compost. Lesson learned: invest in a tool that won’t ghost you at crunch time.
FAQs About Candy Thermometers and Spoon Tests
Can I use a meat thermometer for candy?
Only if its max temp exceeds 310°F AND it’s designed for liquids (not just ambient air). Most meat probes max out at 220°F—dangerously inadequate.
Why does my “candy on a spoon” turn grainy?
Crystallization! Caused by stirring post-boil, undissolved sugar crystals on pan walls, or impurities. Always wash down sides with a wet pastry brush during initial boil.
Do I need to oil the spoon?
No—chilling is enough. Oil can interfere with crystallization in non-fat candies like hard crack recipes.
What’s the best budget candy thermometer?
Taylor Classic Stainless Steel ($12) or Polder Digital ($22). Both are NSF-certified and tested to 400°F.
Conclusion
“Candy on a spoon” isn’t just a nostalgic phrase—it’s your golden ticket to flawless confections. But it only works when backed by an accurate thermometer, calibrated for your kitchen’s altitude, and wielded with respect for sugar’s temperamental chemistry. Skip the guesswork, avoid wasted ingredients, and finally achieve that satisfying SNAP you’ve been chasing. Your future self (and your taste buds) will thank you.
Like a Tamagotchi, your candy dreams need daily care—and a $12 thermometer is the ultimate lifeline.
Melted dreams in copper pot,
Thermometer whispers true.
Snap! Joy on a spoon.