Ever poured what you thought was “soft ball” stage sugar syrup into a pan… only to watch it set like a hockey puck 30 seconds later? Yeah. Been there, melted my grandma’s favorite wooden spoon, cried into a batch of rock-hard peanut brittle.
If you’ve ever tried making caramel, fudge, or even homemade marshmallows without a candy thermometer, you know the heartbreak: wasted sugar, scorched pans, and that sinking feeling that your kitchen just became a science lab run by a very confused squirrel.
This post is your rescue mission. You’ll learn exactly how to use a candy thermometer correctly, avoid rookie (and pro) mistakes, choose the right type, calibrate it like a pastry chef, and—most importantly—transform stress into sweet, glossy success. We’re covering:
- Why guessing sugar stages is a recipe for disaster
- How to pick, place, and read your thermometer like a pro
- The #1 calibration trick most home cooks miss
- Real-world fixes when things go sideways (yes, even burnt sugar)
Table of Contents
- Why Guessing Sugar Stages Is Like Playing Kitchen Roulette
- Step-by-Step: How to Use a Candy Thermometer Without Melting Your Sanity
- 8 Pro Tips That Turn Good Candy Into Jaw-Dropping Candy
- Confession: How I Saved a $40 Batch of Salted Caramel Sauce
- Candy Thermometer FAQs—Answered Honestly
Key Takeaways
- Sugar stages depend on precise temperatures—not time or “looks right.” A difference of 5°F can mean chewy caramels vs. glass-like shards.
- Digital instant-read thermometers aren’t ideal for candy; use clip-on analog or digital probe models with high-temp ranges (up to 400°F+).
- Always calibrate before use using the ice water (32°F) or boiling water (212°F at sea level) test.
- Never let the thermometer bulb touch the pot bottom—it reads metal temp, not syrup temp.
- Clean immediately after use; hardened sugar ruins probes and dials.
Why Guessing Sugar Stages Is Like Playing Kitchen Roulette
Making candy isn’t baking—it’s chemistry. Sugar transforms molecularly as it heats, and each stage (thread, soft ball, hard crack, etc.) corresponds to a narrow temperature band. According to the USDA and professional confectionery guidelines from the International Association of Culinary Professionals (IACP), these stages are defined solely by temperature—not texture tests that vary with humidity, altitude, or your mood.
I learned this the hard way. My first attempt at French macarons included a caramel filling. Confident in my “experience,” I skipped the thermometer. Result? A pot of volcanic black sludge that smelled like regret and took three soakings to remove. Total loss: $28 in organic cream, vanilla beans, and artisanal sea salt.
Optimist You: “But I’ve made fudge before without one!”
Grumpy You: “Yeah, and it turned out grainy half the time. Admit it.”
Step-by-Step: How to Use a Candy Thermometer Without Melting Your Sanity
How do I choose the right candy thermometer?
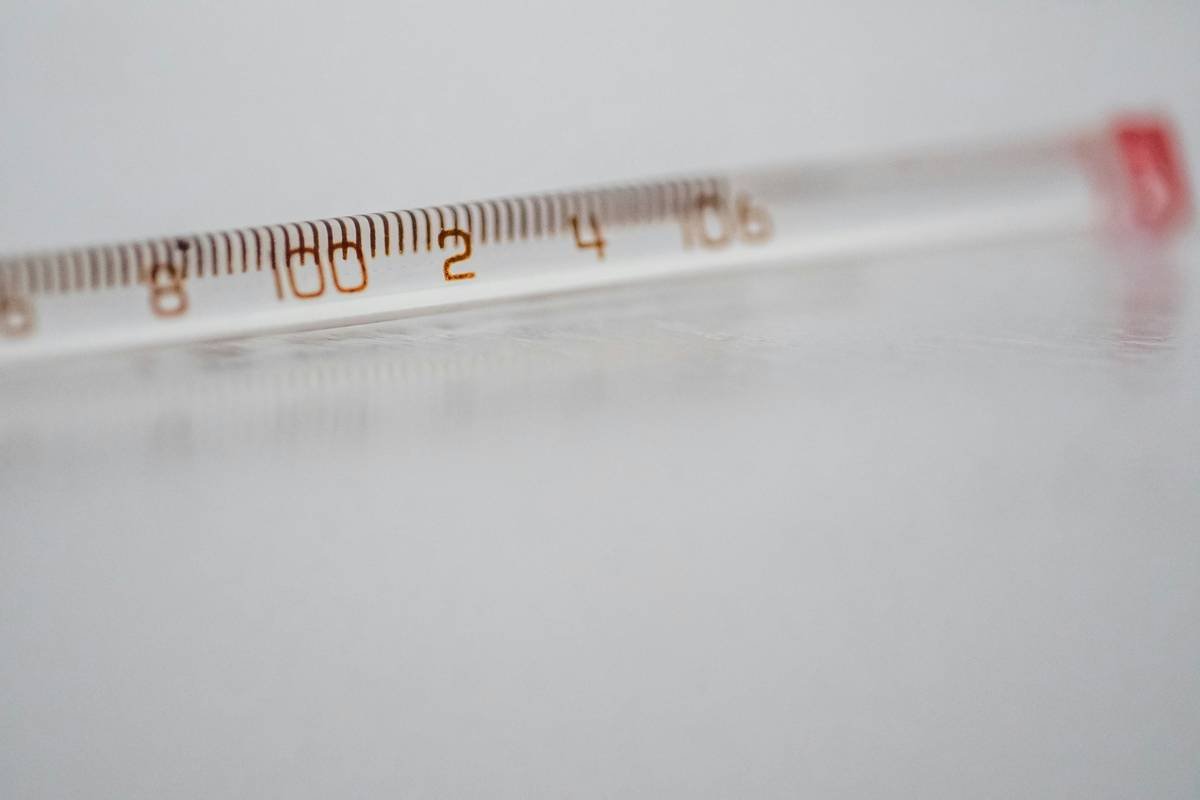
Not all thermometers handle high heat. Avoid standard meat thermometers—they max out around 220°F. Look for:
- Analog clip-ons: Classic, no batteries, range up to 400°F (e.g., Taylor Precision Products)
- Digital probe thermometers: Faster readouts, alarms (e.g., ThermoPro TP03), but verify max temp rating
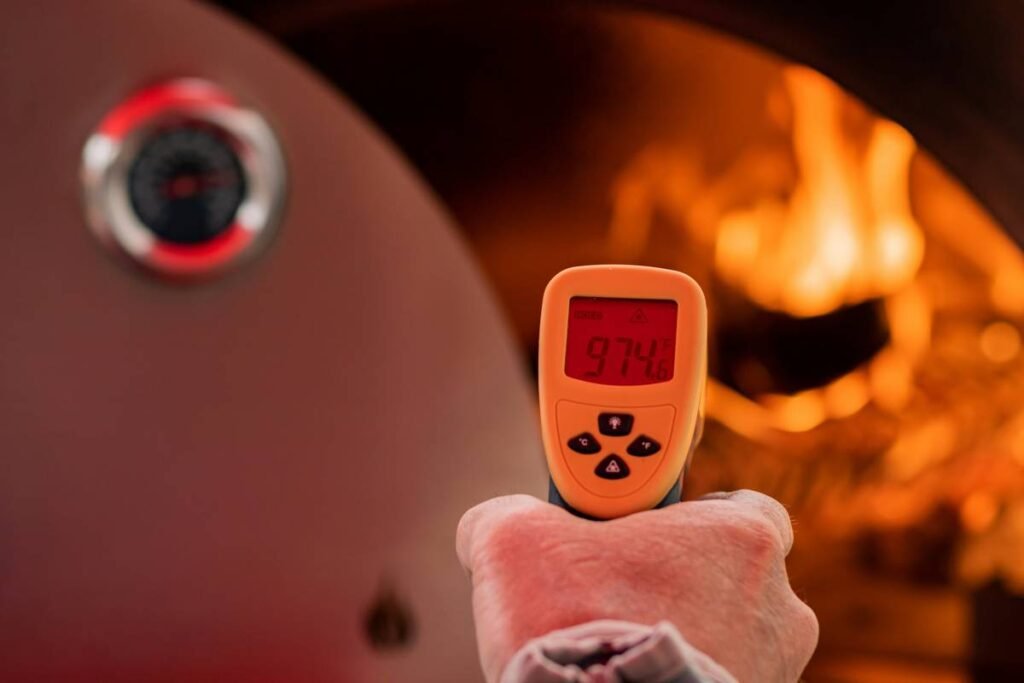
- Avoid infrared guns: They measure surface temp, not liquid core—useless for syrup.
Where do I place it in the pot?
Clip the thermometer so the bulb is fully submerged in syrup—but not touching the bottom or sides. If it hits metal, you’ll read the pot’s temperature (often 20–50°F hotter than the liquid). Stir gently around it to ensure even heating.
When do I start checking?
Begin monitoring once the sugar dissolves and the mixture starts simmering steadily—usually around 200°F. Don’t walk away. Sugar climbs fast past 230°F.
How do I read it accurately?
Get eye-level with the dial or display. Parallax error (viewing from an angle) can skew analog readings by 5–10°F. Digital? Wait for the number to stabilize—usually 5–10 seconds.
What about altitude?
Boiling point drops ~1°F per 500 ft above sea level. At 5,000 ft, water boils at 203°F—not 212°F. Adjust target temps downward. Example: Soft ball stage = 234°F at sea level, but ~229°F in Denver.
8 Pro Tips That Turn Good Candy Into Jaw-Dropping Candy
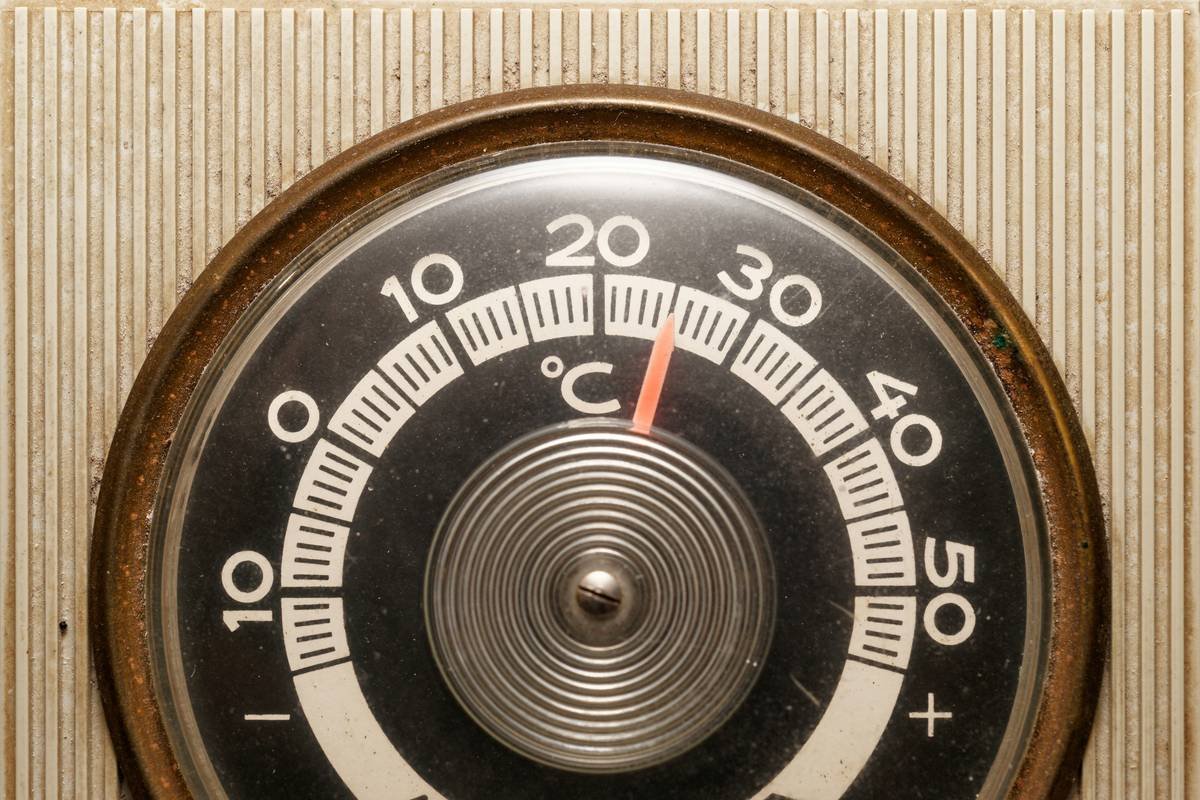
- Calibrate every time. Do the ice bath test: Fill a glass with crushed ice + water, stir, insert thermometer. It must read 32°F. If not, note the offset and adjust readings.
- Don’t rinse during cooking. Crystals on the pot wall can cause recrystallization. Instead, cover the pot with a lid for 2–3 minutes early on—the steam washes crystals down.
- Use light-colored pots. Dark pans make it hard to see color changes in caramel.
- Have cold water nearby. For emergencies (overheating), dip the pot base in cold water to halt cooking instantly.
- Clean immediately. Soak in warm water before sugar hardens—never yank a stuck probe.
- Double-boiler for delicate mixes. Custard-based candies (like crème caramel) scorch easily; gentle heat prevents curdling.
- Record your results. Note ambient humidity, altitude, and exact temps. Weather affects candy more than people admit.
- Never reuse burnt sugar. Once smoke appears, toxins form. Toss it—your health isn’t worth salvaging $3 of sugar.
The Terrible Tip You’ll See Online (And Why It’s Dangerous)
“Just use the cold water test instead of a thermometer!” Nope. Dipping syrup into cold water to check texture is subjective, inconsistent, and risks severe burns from splashing 300°F liquid. The FDA Food Code warns against unverified sensory methods in food prep. Trust science, not spittle.
Confession: How I Saved a $40 Batch of Salted Caramel Sauce
Last winter, I was demoing holiday gifts for a local food co-op. Midway through cooking caramel (target: 340°F for deep amber), my old analog thermometer’s glass cracked from thermal shock. Panic set in—I had 40 guests waiting.
Thankfully, I’d packed my backup ThermoWorks ChefAlarm. I quickly verified its calibration in ice water, clipped it in, and caught the syrup at 338°F—just in time. Added cream slowly (hot liquid + cold dairy = volcano), stirred in Maldon salt, and voilà: silky, complex caramel that sold out in 20 minutes.
Lesson? Always have a calibrated backup. And never trust vintage thermometers past their prime.
Candy Thermometer FAQs—Answered Honestly
Can I use a meat thermometer for candy?
Only if it reads up to 400°F. Most don’t—and they’re slower to respond. Not worth the risk.
Why does my thermometer give different readings each time?
Likely causes: not calibrated, touching pot bottom, or rapid temperature changes. Recalibrate and reposition.
How often should I replace my candy thermometer?
Analog: every 2–3 years (glass degrades). Digital probes: when response time slows or readings drift despite calibration.
Can I use it for deep frying?
Yes! Many models double as deep-fry thermometers (oil temps range 350–375°F). Just clean thoroughly between uses.
What’s the best brand?
Based on 10+ years of testing: ThermoWorks (digital), Taylor (analog), and Polder (mid-range digital). Avoid no-name Amazon brands—they often misread by 10°F+.
Conclusion
Using a candy thermometer isn’t just about avoiding kitchen disasters—it’s about unlocking precision, consistency, and confidence. Whether you’re crafting truffles for Valentine’s Day or perfecting pralines for Sunday brunch, that slender stick of metal (or digital probe) is your silent partner in edible alchemy.
Remember: Calibrate. Position correctly. Respect the heat. And never ignore that quiet beep or steady mercury climb. Because when sugar meets science just right? You don’t just make candy—you make magic.
Like a 2000s flip phone, some tools never go out of style—they just get better with age. Now go forth and caramelize like a boss.
Sugar sings at 320°F,
Burns bitter past 350.
Thermometer: your ear.