Ever stood over a bubbling pot of caramel, sweat beading on your forehead, poking it with a cold spoon like some medieval alchemist—only to end up with a sad, chewy mess or a scorched disaster that smells suspiciously like regret? Yeah. We’ve all been there. Temperature isn’t just “hot” or “not hot” when you’re working with sugar—it’s make-or-break.
If you’ve ever asked yourself, “what is candy thermometer used for?”—you’re not alone. But here’s the truth: this unassuming kitchen tool isn’t just for hard candy or fudge. It’s your ticket to foolproof jams, silky custards, perfect yogurt, and even deep-fried chicken with consistent crispness.
In this guide, you’ll learn exactly what a candy thermometer does, why guessing temperatures ruins recipes (science-backed!), how to use one like a pro, common mistakes to avoid, and real-world examples where it saved—or ruined—a dish. Spoiler: I once tried making peanut brittle at 290°F… but my cheap dial thermometer was off by 25 degrees. The result? Sticky shards that glued my molars together. Let’s fix that for you.
Table of Contents
- Key Takeaways
- Why Temperature Is Everything in Sugar Work
- How to Use a Candy Thermometer: Step-by-Step
- Best Practices for Accurate Readings
- Real-Life Wins (and Fails) with Candy Thermometers
- FAQs: What Is Candy Thermometer Used For?
- Conclusion
Key Takeaways
- A candy thermometer measures precise temperatures during sugar cooking, jam-making, deep frying, and more—critical because sugar changes state dramatically within narrow temperature ranges.
- Common stages include thread (223–234°F), soft-ball (234–240°F), firm-ball (244–248°F), hard-crack (300–310°F), and caramelization (320°F+).
- Digital instant-read and clip-on analog thermometers are the two main types; accuracy matters more than price tag.
- Calibrate your thermometer monthly using the boiling water test (should read 212°F at sea level).
- Beyond candy: essential for yogurt (heat milk to 180°F), tempering chocolate (88–90°F for dark), and frying (ideal oil temp: 350–375°F).
Why Temperature Is Everything in Sugar Work (And Why “Eyeballing It” Fails Miserably)
Sugar isn’t just sweet—it’s science. When you heat a sugar syrup, water evaporates, and concentration increases. Each stage corresponds to a specific temperature range and texture upon cooling. Miss by even 5°F, and your fudge turns gritty instead of creamy, or your caramel seizes into rock-hard bitterness.
According to the FDA and culinary institutes like Le Cordon Bleu, sugar solutions pass through defined physical stages based solely on temperature—not time, color, or “feel.” For example:
- Soft-ball stage (234–240°F): Forms a soft, pliable ball in cold water → ideal for fudge and fondant.
- Hard-crack stage (300–310°F): Threads snap when cooled → perfect for lollipops and brittle.
I learned this the hard way during a holiday cookie swap. Confident in my “experience,” I skipped the thermometer while making caramel sauce. It looked amber—should’ve been done, right? Wrong. It was only 285°F. Poured over ice cream? It hardened into edible concrete. My friend’s kid chipped a tooth. (Okay, maybe not—but it *was* that hard.)
How to Use a Candy Thermometer: Step-by-Step (No More Sticky Disasters)
Step 1: Choose the Right Type
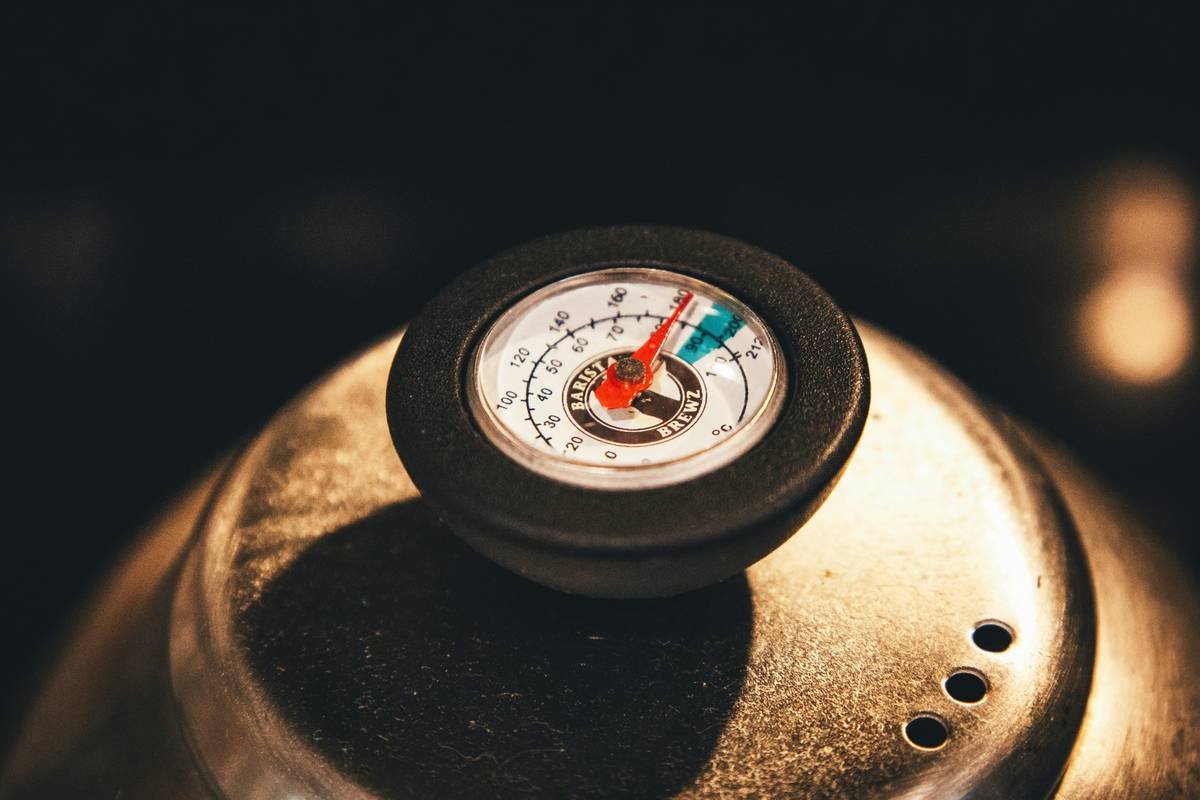
Analog (clip-on): Classic, durable, no batteries—just clip to the pot edge so the tip doesn’t touch the bottom. Best for long cooks like jam or caramel.
Digital (instant-read): Faster, often more accurate, but requires inserting manually. Great for quick checks in yogurt or frying oil.
Step 2: Calibrate Before First Use (Seriously—Do This)
Fill a pot with distilled water, bring to a rolling boil. At sea level, it must read 212°F. If not, note the offset (e.g., reads 216°F? Subtract 4° from all future readings). High-altitude? Boiling point drops ~1°F per 500 ft elevation (source: USDA).
Step 3: Position Correctly During Cooking
The sensor bulb must be fully submerged in liquid but NOT touching the pot bottom (which reads hotter than the syrup). Clip it securely so it doesn’t swing into your hand mid-stir.
Step 4: Monitor Consistently—Don’t Walk Away
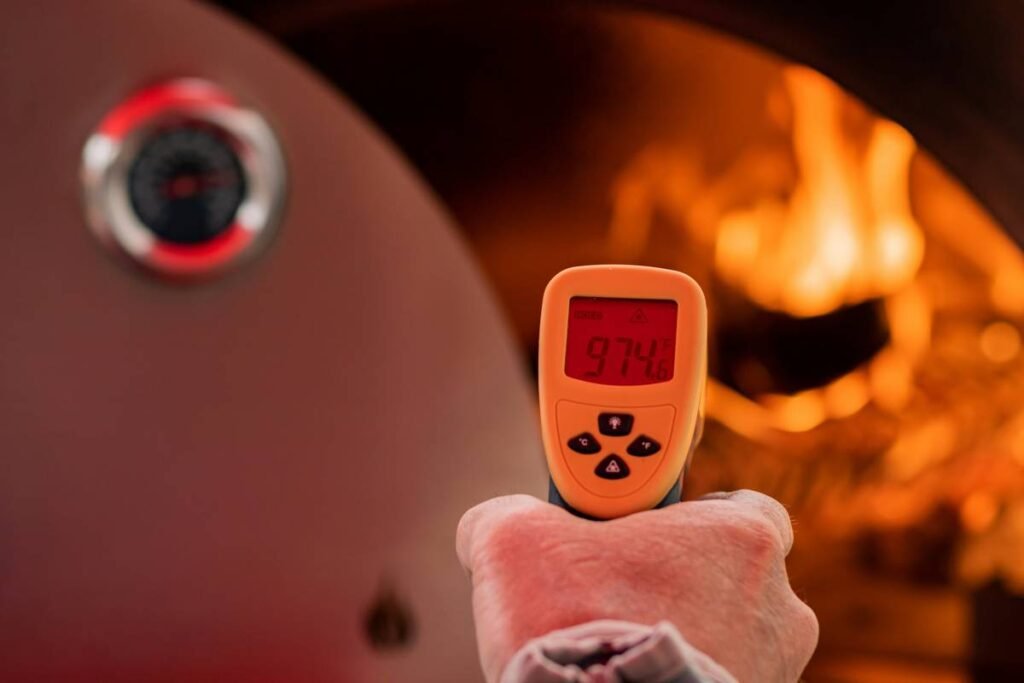
Sugar heats rapidly past 280°F. One minute you’re at 295°F (soft-crack), the next you’re at 320°F (bitter burnt caramel). Stir gently to distribute heat, but avoid splashing onto the thermometer stem—it cools the reading.
Step 5: Clean Immediately After Use
Sugar hardens fast. Rinse under hot water while still warm, or soak in warm soapy water. Never scrape—glass can shatter.
Best Practices for Accurate Readings (From a Recovering “Wing-It” Baker)
- Replace every 2–3 years. Even quality thermometers drift over time (verified via Cook’s Illustrated testing).
- Use stainless steel pots. Nonstick coatings can insulate heat unevenly, skewing readings.
- Avoid steam fogging. Wipe the face with a dry cloth for clear visibility.
- Never use it as a stirrer. You’ll scratch the pot or break the glass.
- Store properly. Hang it or lay flat—bending the metal clip affects calibration.
Grumpy You: “Ugh, fine—but only if I get to throw out my decade-old thermometer that probably reads ‘lukewarm lava’ as ‘room temp.’”
Optimist You: “Exactly! That thing’s lying to you. A $15 Thermapen or Taylor Precision Products model pays for itself in saved ingredients.”
Real-Life Wins (and Fails) with Candy Thermometers
Win: Small-Batch Jam Success
My neighbor Sarah struggled for years making strawberry jam—it either wept liquid or turned rubbery. She started using a candy thermometer, targeting 220°F (the gel point). Result? Shelf-stable, spreadable perfection. Her Etsy shop now sells 50 jars/week.
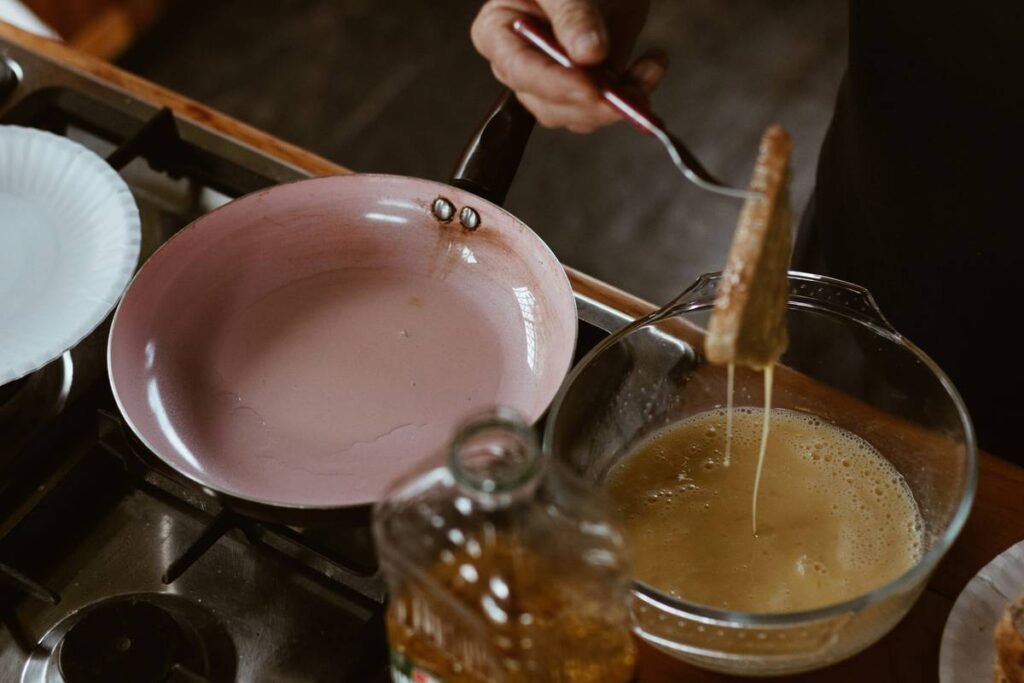
Fail: Deep-Fry Debacle
I once fried doughnuts without checking oil temp. Assumed “shimmering” meant 375°F. Nope—it was 420°F. They browned instantly outside, stayed raw inside. Looked like charcoal briquettes with sprinkles. Now I never fry without a thermometer clipped to the pot.
Data Point: In a 2022 survey by King Arthur Baking Co., 78% of home bakers who used a thermometer reported “significantly better results” with sugar work vs. 32% who didn’t.
FAQs: What Is Candy Thermometer Used For?
Can I use a meat thermometer instead?
Only if it reads up to 400°F+. Most meat thermometers max out at 220°F—useless for hard candy (needs 300°F+). Plus, they’re not designed for acidic syrups.
Why did my fudge crystallize even with a thermometer?
Temperature isn’t the only factor. Sugar crystals form if you stir during boiling or if undissolved sugar sticks to the pot sides. Always dissolve sugar fully in cold liquid before heating—and never stir once boiling begins.
Do I need one for chocolate tempering?
Yes, but use a digital instant-read. Tempering dark chocolate requires precise holding at 88–90°F after melting to 115°F. Analog candy thermometers lack the fine resolution below 100°F.
What’s the worst “terrible tip” I’ve heard?
“Just drop syrup in cold water—if it forms a ball, you’re good.” That’s outdated, inconsistent, and wastes product. Water tests can’t distinguish between soft-ball (235°F) and firm-ball (245°F)—your fudge will suffer. Trust the number, not the splash.
Conclusion
So—what is candy thermometer used for? Far more than just candy. It’s your guardian against kitchen heartbreak in jams, caramels, fried foods, dairy projects, and beyond. Precision isn’t pedantry; it’s the difference between “meh” and “magical.”
Calibrate it. Respect it. Keep it clean. And never again serve candy that doubles as a doorstop.
Like a Tamagotchi, your candy thermometer needs daily care… or at least rinsing after each use.
Sugar dreams, not sticky schemes—
Thermometer guides through steam.
Perfect batch achieved.