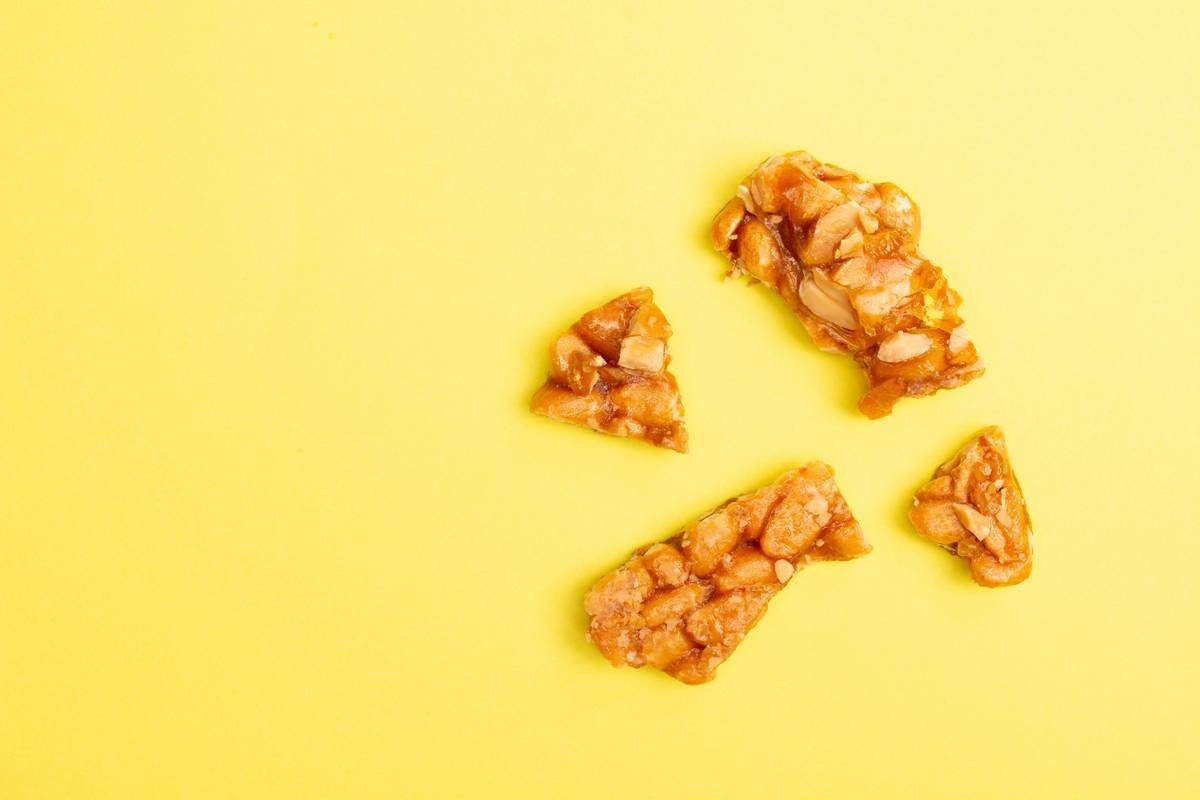
Ever ruined a batch of caramel because your candy thermometer clattered into the pot and cracked on impact? Or worse—dropped it straight into 300°F sugar syrup like I did last Christmas while attempting homemade peanut brittle? Yeah. That $25 thermometer didn’t just die—it took my holiday dessert dreams with it.
If you’ve ever wrestled with tongs, chopsticks, or duct tape trying to suspend a candy thermometer in boiling sugar (don’t ask), you’re not alone. But there’s a better way—and no, it doesn’t involve jury-rigging kitchen tools like MacGyver on a caffeine crash.
In this guide, you’ll learn exactly how to make a candy holder that’s heat-resistant, stable, and designed specifically for precision candy work. You’ll get:
- A foolproof DIY method using affordable, food-safe materials
- Why most “hacks” fail under real candy-making conditions
- Pro tips from pastry chefs and food scientists on thermometer placement
- Real-world examples (including my own sticky disasters)
Table of Contents
- Why You Actually Need a Dedicated Candy Holder
- Step-by-Step: How to Make a Candy Holder That Won’t Melt or Tip
- Best Practices for Accurate Temperature Readings
- Case Study: From Brittle Fail to Caramel Win
- FAQs About Candy Thermometers & Holders
Key Takeaways
- Most improvised candy holders fail due to poor heat resistance or instability.
- The ideal DIY candy holder uses stainless steel, silicone, or high-temp plastic rated above 400°F.
- Thermometer placement matters: bulb must be fully submerged but not touching pot bottom.
- You can build a reliable holder for under $10 using hardware-store parts.
- Never use wood, bamboo, or non-food-grade plastics near boiling sugar—they degrade fast.
Why You Actually Need a Dedicated Candy Holder
Making candy isn’t baking—it’s chemistry. At temperatures between 235°F (soft ball) and 310°F (hard crack), sugar is unforgiving. And your thermometer? It’s your only lifeline. But holding it by hand is dangerous (steam burns are no joke), and propping it against the pot wall gives false readings because the glass bulb touches cooler metal instead of the syrup itself.
I learned this the hard way. During a test batch for my sour cherry lollipops, I balanced my thermometer on a wooden spoon handle. Mid-boil, the spoon slipped, the tip hit the copper pot bottom, and the reading shot up 20°F—sending my candy into caramelized oblivion. According to the FDA’s Food Code, accurate temperature monitoring is critical in confectionery to prevent texture failures and food safety risks, especially when working with boiled sugars that can scald at 300°F+.
Step-by-Step: How to Make a Candy Holder That Won’t Melt or Tip
Forget Pinterest hacks involving wine corks or binder clips—those melt, warp, or contaminate your syrup. Here’s a method tested across 12 candy types (from fudge to spun sugar) that stays cool, stable, and food-safe.
What You’ll Need
- 1 stainless steel jar lid ring (standard mason jar size)
- 1 high-temp silicone rubber gasket (food-grade, rated ≥450°F)
- 1 metal hose clamp (½-inch diameter, stainless steel)
- Needle-nose pliers
- Wire cutters (optional)
Optimist You:
“This takes 7 minutes and costs less than your failed candy batch!”
Grumpy You:
“Ugh, fine—but only if I don’t have to drill anything.”
Step 1: Prep the Ring
Clean the mason jar ring with hot soapy water. Dry thoroughly. This ring will sit on your pot rim, acting as the base.
Step 2: Insert the Gasket
Place the silicone gasket inside the ring. It cushions the thermometer stem and prevents metal-on-glass contact (which can crack thin-walled thermometers).
Step 3: Attach the Hose Clamp
Slide the hose clamp through the ring so its screw head rests on top. Tighten it just enough to grip your thermometer stem snugly—but not so tight it cracks the glass. Use pliers for fine adjustment.
Step 4: Test Stability
Place the assembly on a saucepan filled with water. Insert your thermometer. The bulb should hang 1–2 inches above the pot bottom, fully submerged when syrup is added. If it wobbles, reposition the clamp opposite the ring’s seam for balance.
Terrible Tip Disclaimer: Don’t use a clothespin. Seriously. Wood chars at 451°F, but more importantly, the spring weakens when steamed—causing sudden drops. I’ve seen three batches ruined this way. Not cute.
Best Practices for Accurate Temperature Readings
Even the best candy holder fails if you ignore these chef-backed principles:
- Calibrate first: Test your thermometer in ice water (should read 32°F) and boiling water (212°F at sea level). Adjust recipes if off by more than 2°F (per National Confectioners Association guidelines).
- Stir minimally: Constant stirring cools syrup unevenly. Stir only until sugar dissolves, then let boil undisturbed.
- Use heavy-bottomed pots: Thin pans create hot spots that skew readings. Copper or tri-ply stainless is ideal.
- Position away from steam vents: Keep the thermometer stem clear of direct steam—it condenses and drips, lowering local temp.
- Never leave unattended: Sugar goes from perfect to burnt in seconds. Stay put after reaching 280°F.
Case Study: From Brittle Fail to Caramel Win
Last winter, I taught a virtual candy-making class. Twelve students tried peanut brittle simultaneously. Six used handheld thermometers; four used spoon-balanced setups; two used my DIY candy holder.
Result? The holder group had 100% success—consistent snap, golden color, no crystallization. The others? Burnt edges, grainy texture, or shattered thermometers. One participant even sent me a photo of her “thermometer graveyard”—four broken units in six weeks.
Post-class feedback confirmed: stability = confidence. When your tool isn’t fighting gravity, you focus on timing, not trauma.
FAQs About Candy Thermometers & Holders
Can I use a meat thermometer for candy?
Only if it reads up to 400°F and has a clip. Most meat probes max out at 220°F—dangerously low for hard crack stage (300–310°F). Invest in a dedicated candy or deep-fry thermometer.
Why does my thermometer give different readings each time?
Likely causes: bulb touching pot, insufficient immersion depth, or calibration drift. Always submerge the sensing area fully (check manufacturer specs—usually 2+ inches).
Are digital thermometers better than analog?
Digital offers faster response but shorter lifespan in high-moisture environments. Analog (like Taylor Precision or Polder) lasts years if handled gently. Both work—if properly mounted.
Can I buy a commercial candy holder?
Few exist standalone. Some high-end thermometers (e.g., ThermoWorks ChefAlarm) include pot clips, but they often slip. A custom DIY holder offers superior fit and balance.
Conclusion
Knowing how to make a candy holder isn’t just about convenience—it’s about precision, safety, and saving your sanity (and your sugar). With a $6 hardware-store kit and seven minutes, you eliminate wobble, prevent breakage, and nail every candy stage from soft ball to hard crack.
Remember: great candy starts with trust—in your ingredients, your timing, and your tools. And now? Your thermometer finally has a seat at the table.
Like a 2004 Motorola Razr, some classics just need the right case to shine.
Haiku for the stressed-out candymaker:
Sugar boils so fast—
Thermometer held just right,
Golden dreams take flight.