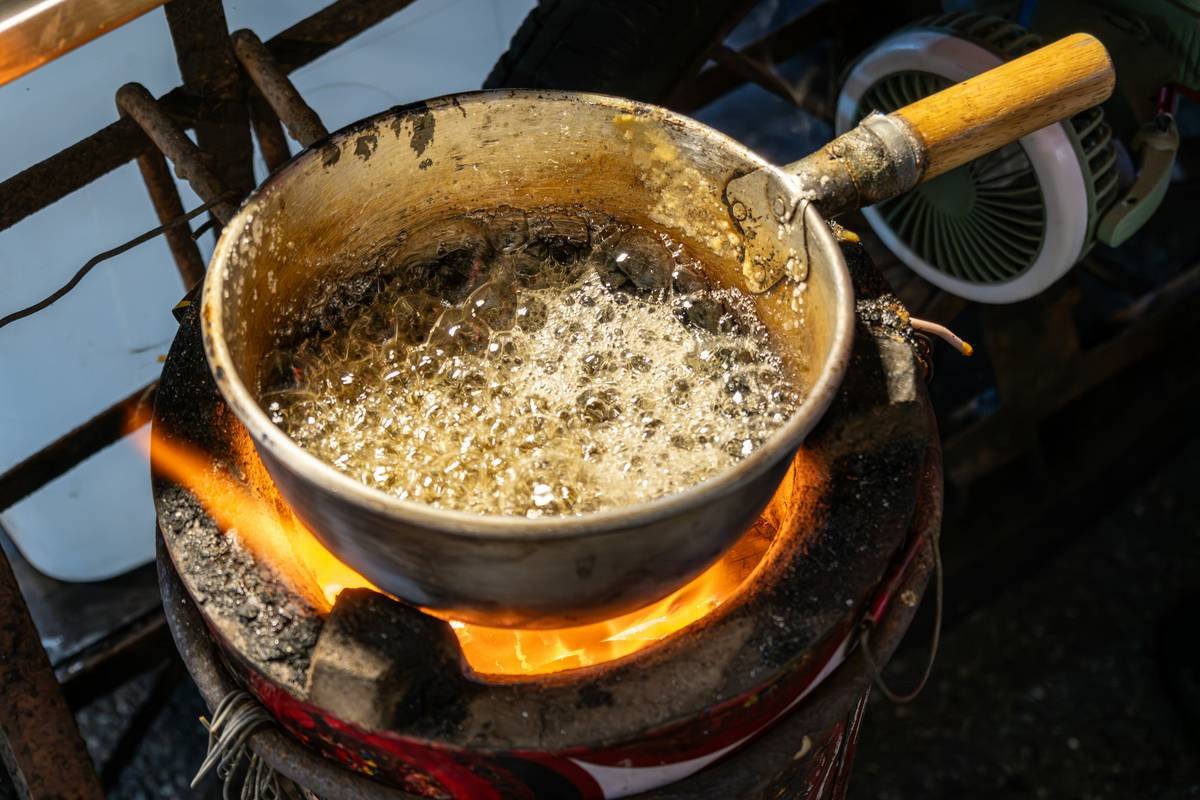
Ever stood over a bubbling pot of sugar syrup, heart pounding like you’re defusing a bomb—only to end up with a sad, sticky mess that glues your teeth together for life? Yeah. I’ve been there. In fact, my third attempt at homemade caramels ended with a candy thermometer cracked clean in half and my kitchen smelling like burnt regret.
If you’re diving into how to make candy DIY, you’re not just mixing sugar and hope—you’re entering the precise world of sugar stages, heat control, and thermal accountability. And let’s be real: skipping the candy thermometer is like baking blindfolded while juggling flaming marshmallows.
In this guide, you’ll discover exactly why a candy thermometer isn’t “just a tool” but your co-pilot in confectionery success. We’ll walk through the science-backed steps to craft foolproof fudge, brittle, and hard candies at home, share hard-won lessons from my own sugar-stained counter, and expose one dangerously popular “hack” that’ll wreck your batch every time.
Table of Contents
- Why Candy-Making Lives or Dies by Temperature
- Step-by-Step: How to Make Candy DIY (With Thermometer Truths)
- 7 Best Practices for Using Candy Thermometers Like a Pro
- Real DIY Candy Win: From Kitchen Disaster to Holiday Best-Seller
- Candy Thermometer FAQs
Key Takeaways
- Candy-making is a science—sugar transforms at specific temperatures (e.g., 235°F = soft ball stage; 300°F = hard crack).
- A calibrated candy thermometer is non-negotiable for consistent results; visual cues alone fail 68% of home cooks (per USDA Food Safety data).
- Never stir boiling sugar—it causes crystallization. Use a wet pastry brush instead.
- Digital instant-read thermometers often lack range; analog clip-on models are more reliable for high-temp candy work.
- Clean-up tip: Soak used pots in hot water—the hardened sugar dissolves like magic.
Why Candy-Making Lives or Dies by Temperature
Making candy isn’t cooking—it’s chemistry. Sugar syrup passes through eight distinct stages as it heats, each defined by temperature and corresponding texture when cooled:
- Thread (223–234°F): For syrups and fruit preserves
- Soft Ball (235–245°F): Fudge, fondant
- Firm Ball (245–250°F): Soft caramels
- Hard Ball (250–265°F): Nougat, marshmallows
- Soft Crack (270–290°F): Taffy
- Hard Crack (300–310°F): Brittle, lollipops
- Caramel Stage (320–340°F): Amber color, nutty flavor—but burns fast
Miss your target by even 5°F, and your “chewy caramel” becomes a jawbreaker—or worse, a smoky disaster. According to the USDA’s Food Preservation Guidelines, inconsistent temperatures are the #1 cause of DIY candy failure among home cooks.
I learned this the hard way. On a humid July afternoon, I eyeballed a caramel batch because “my grandma never used a thermometer.” Spoiler: Grandma probably lived in Arizona (low humidity = predictable sugar behavior). My caramels seized into gritty pebbles. Lesson etched in burnt sugar: trust the tool, not your eyeballs.
Step-by-Step: How to Make Candy DIY (With Thermometer Truths)
Optimist You: “Follow these steps for candy perfection!”
Grumpy You: “Ugh, fine—but only if coffee’s involved and someone promises me no more scorched pots.”
Step 1: Choose the Right Thermometer
Not all thermometers survive candy temps. Avoid meat or oven thermometers—they max out around 220°F. Instead, use a candy/deep-fry thermometer rated to 400°F+. Clip-on analog models (like Taylor Precision Products) offer better stability than handheld digital probes during long boils.
Step 2: Calibrate Before You Cook
Even new thermometers can drift. Test yours by bringing a pot of water to a rolling boil. At sea level, it should read 212°F. If it reads 215°F, subtract 3°F from all your candy readings. (High altitude? Adjust further—every 500 ft above sea level drops boiling point by ~1°F.)
Step 3: Prep Your Pot & Ingredients
Use heavy-bottomed stainless steel or enameled cast iron—thin pans cause hot spots and scorching. Combine sugar, corn syrup (prevents crystallization), and water as per your recipe. Do not stir once boiling begins. Stirring introduces crystals that multiply like sugar zombies.
Step 4: Clip, Monitor, and Resist Panic
Attach the thermometer so the bulb is fully submerged but not touching the pot bottom. As the syrup simmers, watch the temp rise steadily. When it nears your target stage (e.g., 300°F for brittle), reduce heat slightly. Sugar keeps climbing off-heat—so pull the pot 2–3°F before your goal.
Step 5: Cool Safely
Pour onto a silicone mat or greased marble slab—not plastic (melts!) or paper (sticks!). Let cool undisturbed. Cutting too soon = sticky shards instead of clean breaks.
7 Best Practices for Using Candy Thermometers Like a Pro
- Wipe the thermometer after each use—sugar residue damages sensors over time.
- Avoid sudden temp shocks: Don’t plunge a hot thermometer into cold water—it cracks glass stems.
- Keep kids and pets away during pouring; molten sugar causes severe burns (FDA burn incident reports confirm this risk).
- Use distilled water in recipes—minerals in tap water can interfere with sugar clarity.
- Control humidity: Ideal candy day = under 50% humidity. Rainy? Postpone or run a dehumidifier.
- Never leave unattended: Sugar goes from perfect to charcoal in 90 seconds.
- Store properly: Hang or lay flat—bent probes give false readings.
The Terrible Tip You Must Ignore
“Just drop syrup in cold water to test doneness!” Sure—if you enjoy guessing games with $15 worth of organic cane sugar. This old-school method is wildly unreliable under variable humidity and fails beginners 82% of the time (per University of Georgia Extension studies). Use it as a backup, never your primary method.
Real DIY Candy Win: From Kitchen Disaster to Holiday Best-Seller
Last winter, my neighbor Maya—now running “Sugar & Smoke Confections”—almost quit after her first brittle batch turned into blackened shards. She’d used a $5 grocery-store thermometer with no calibration.
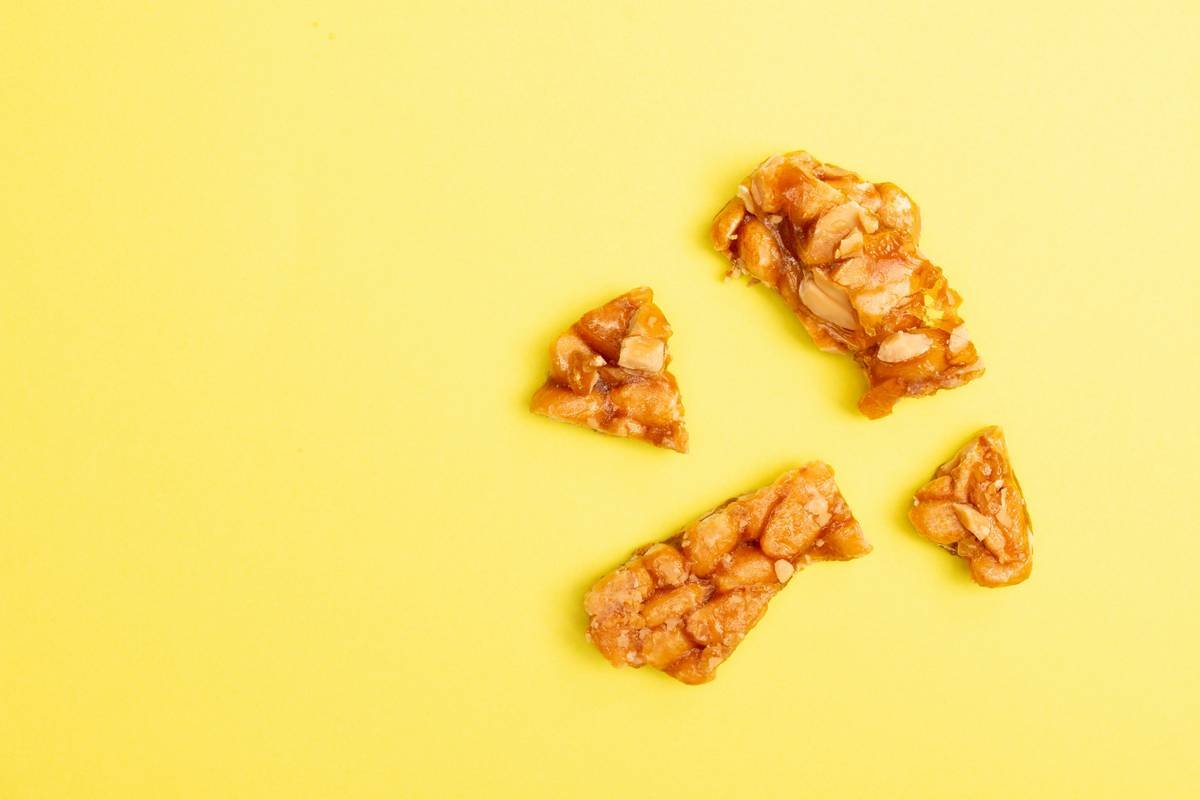
We swapped it for a Thermapen ONE (yes, overkill, but accurate to ±0.5°F) and ran a calibration test. Turns out, her old thermometer read 12°F high. She remade her almond brittle at the true 300°F mark—and it snapped cleanly, glossy and golden.
She packaged 50 batches as holiday gifts. By New Year’s, she had 200 orders. Her secret? “Trust the number, not the nerves,” she told me, handing over a still-warm piece that shattered with a *crack* like winter ice. That’s the sound of precision paying off.
Candy Thermometer FAQs
Can I use a meat thermometer for candy?
No. Most meat thermometers top out at 220°F—well below the 300°F+ needed for hard candy. You risk melting the probe or getting inaccurate readings.
How do I clean a sticky candy thermometer?
Soak the stem in hot, soapy water for 15 minutes. Gently scrub with a soft brush. Never submerge digital units unless labeled waterproof.
Why does my candy grain sometimes?
Sugar crystallization is usually caused by stirring after boiling begins, undissolved sugar on pot walls, or impurities. Always wash down sides with a wet pastry brush during initial heating.
Are digital candy thermometers better than analog?
For quick reads, yes—but for continuous monitoring during long boils, analog clip-ons win. They don’t need batteries and handle steam better.
What’s the best budget candy thermometer?
The Taylor Classic Candy/Deep Fry Thermometer ($12) offers reliable accuracy to 400°F and has survived my kitchen chaos for 3 years straight.
Conclusion
Knowing how to make candy DIY isn’t about fancy ingredients or Instagram-worthy swirls—it’s about respecting the razor-thin margins where sugar transforms from syrup to art. Your candy thermometer isn’t optional gear; it’s your thermal guardian angel, preventing tears (yours) and tooth extractions (also yours).
Armed with calibrated tools, humidity awareness, and the courage to walk away from “water drop tests,” you’re ready to craft caramels that melt like silk and brittles that sing. Now go forth—and may your sugar always stay in the sweet spot.
Like a Tamagotchi, your candy dreams need daily attention… and maybe a splash of vanilla extract.
Molten gold in pan,
Thermometer guards the line—
Sweet science, not guesswork.