You followed the recipe. Measured everything twice. Yet your caramel seized or your fudge turned grainy—again. Temperature is everything in candy-making, and traditional metal or glass thermometers lie to you through heat conduction, inconsistent placement, or shattering mid-pour. The solution? A high-grade silicone candy tool. Not just any spatula—but a purpose-built, heat-resistant instrument that doubles as thermometer anchor, stirrer, and safety net.
The Core Problem: Why Standard Candy Thermometers Fail You
Metal clips detach. Glass probes crack when they touch cold bowl edges. Digital sensors give erratic readings if not fully submerged. And nobody talks about this: agitation matters as much as temperature. Stir inconsistently, and sugar crystallizes unevenly—even at the “perfect” 238°F.
Most home cooks use whatever’s handy: wooden spoons, cheap thermometers, or worse—nothing at all. They’re flying blind. Candy science isn’t forgiving. One degree off, one moment of stillness too long, and your batch becomes kitchen waste.
Mastering Precision with a Silicone Candy Tool
This isn’t about swapping gear. It’s about upgrading your entire technique. A true silicone candy tool integrates thermal stability, non-stick performance, and ergonomic control into one instrument. Here’s how to leverage it.
Selecting the Right Heatproof Mixing Tool
Not all silicone is equal. Look for food-grade platinum-cured silicone rated to at least 600°F. Avoid cheap imports with fillers—they degrade fast, leach odors, and warp under sustained heat. Flexibility matters too: rigid tools scrape poorly; overly soft ones lack control.
Calibrating Your Thermal Workflow
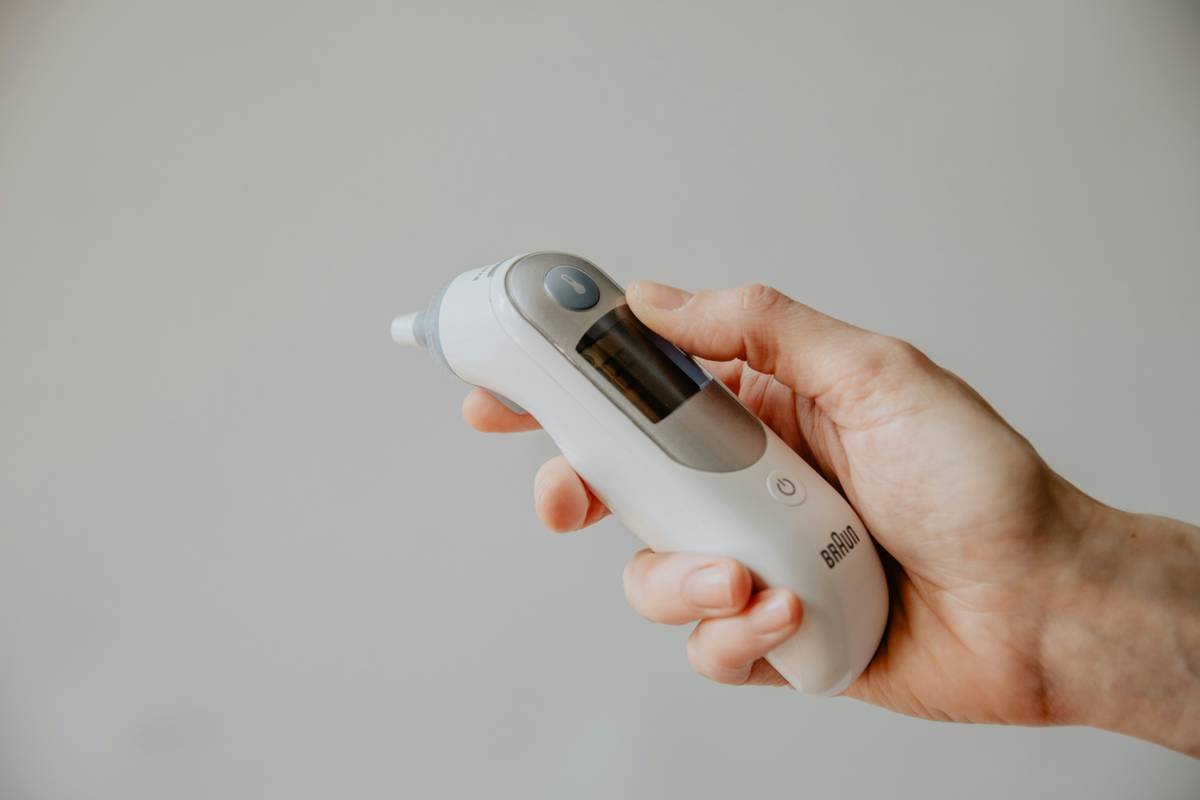
Clip your thermometer to the side of the pot using the silicone tool’s integrated notch or groove—not your fingers. This keeps the probe suspended in syrup, away from hot metal walls that skew readings by 5–10°F. Stir continuously in slow figure-eights during heating phases. Stop only when hitting target temps.
Avoiding Common Sugar Pitfalls
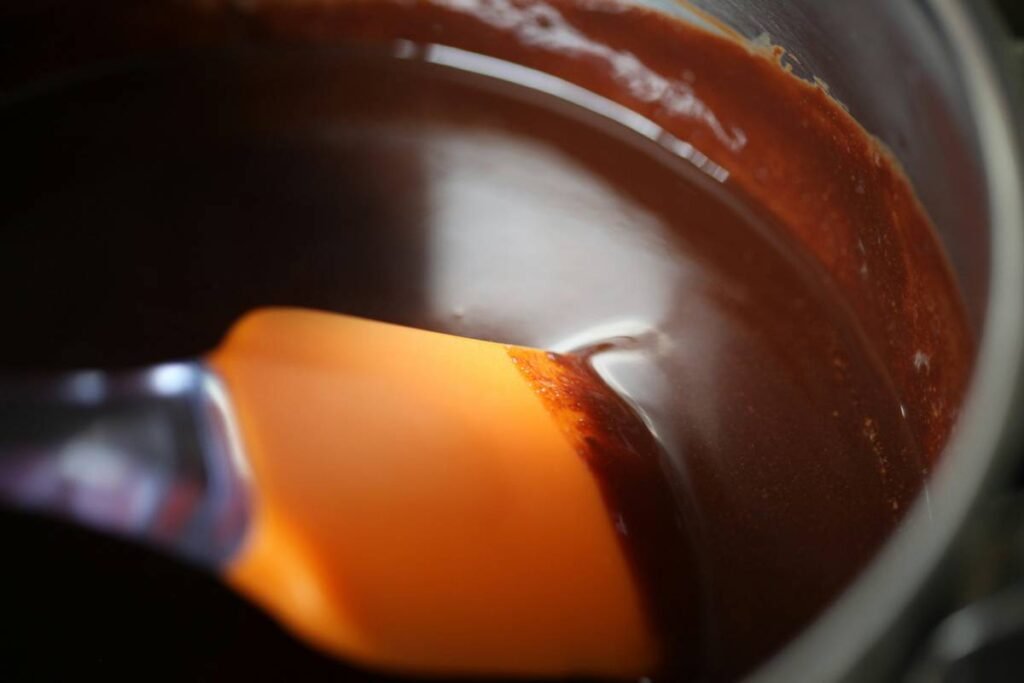
Granulated sugar loves to cling to pot sides. If undissolved crystals fall back in, they seed unwanted crystallization. Wipe sides early with a wet pastry brush—or better yet, use your dampened silicone candy tool edge. It won’t scratch, won’t retain water droplets, and maintains contact without cooling the mixture.

| Method | Temp Accuracy | Stirring Efficiency | Risk of Contamination |
|---|---|---|---|
| Metal spoon + glass thermometer | Poor (±8°F error) | Low (sticks, conducts heat) | High (glass breakage, metal reaction) |
| Wooden spoon + clip thermometer | Fair (±5°F error) | Moderate (absorbs moisture) | Medium (wood harbors bacteria) |
| Silicone candy tool + digital probe | Excellent (±1–2°F error) | High (non-stick, full coverage) | Very Low (inert, easy-clean surface) |

The Industry Secret: Candy Makers Don’t Just Measure—They Feel
Here’s what pro chocolatiers and confectioners won’t tell beginners: temperature guides are starting points, not gospel. Humidity, altitude, even your stove’s hotspots alter behavior. The real skill? Using your silicone candy tool to *feel* viscosity shifts while cross-referencing the thermometer. At soft-ball stage, the syrup should ribbon slightly off the tool’s edge—not drip like water, not clump like paste. That tactile feedback, combined with precise temp data, is how master batches happen consistently. Most home kits ignore this dual-input approach—and fail because of it.
Frequently Asked Questions
Can I use a regular silicone spatula as a candy tool?
Only if it’s rated above 450°F and has a sturdy core. Many flimsy spatulas melt or bend when stirring thick caramel. True candy tools have reinforced necks and tapered edges for scraping.
Do silicone tools affect candy flavor?
High-quality platinum-cured silicone is odorless and inert. Cheap versions may impart a faint rubbery taste—especially in delicate recipes like vanilla fudge. Always pre-wash new tools with vinegar rinse.
How do I clean a silicone candy tool after use?
Rinse immediately under hot water while syrup is still warm. For stubborn residue, soak in baking soda solution for 10 minutes. Never use abrasive pads—they create micro-scratches that trap sugar over time.