Ever spend hours crafting delicate sugar flowers or spun-sugar spirals—only to watch them melt into a sticky puddle before dessert even hits the table? Temperature is the silent killer of candy decorations. Most home cooks skip the one tool that guarantees precision: a calibrated candy thermometer. Here’s how to stop guessing and start creating show-stopping, structurally sound candy art—with science, not luck.
Why Your Candy Decorations Keep Failing (It’s Not Your Fault)
Most tutorials treat candy making like baking cookies—“a little of this, a pinch of that.” But sugar isn’t flour. It’s a temperature-sensitive crystal lattice. Miss your target by 5°F? You get chewy shards instead of crisp shells—or worse, caramelized goo that refuses to harden.
And ambient humidity? A silent saboteur. On muggy days, even perfectly cooked sugar absorbs moisture from the air, turning brittle decorations soft within minutes. The real issue isn’t technique—it’s uncontrolled variables masquerading as “bad luck.”
How to Make Candy Decorations: Precision Steps for Flawless Results
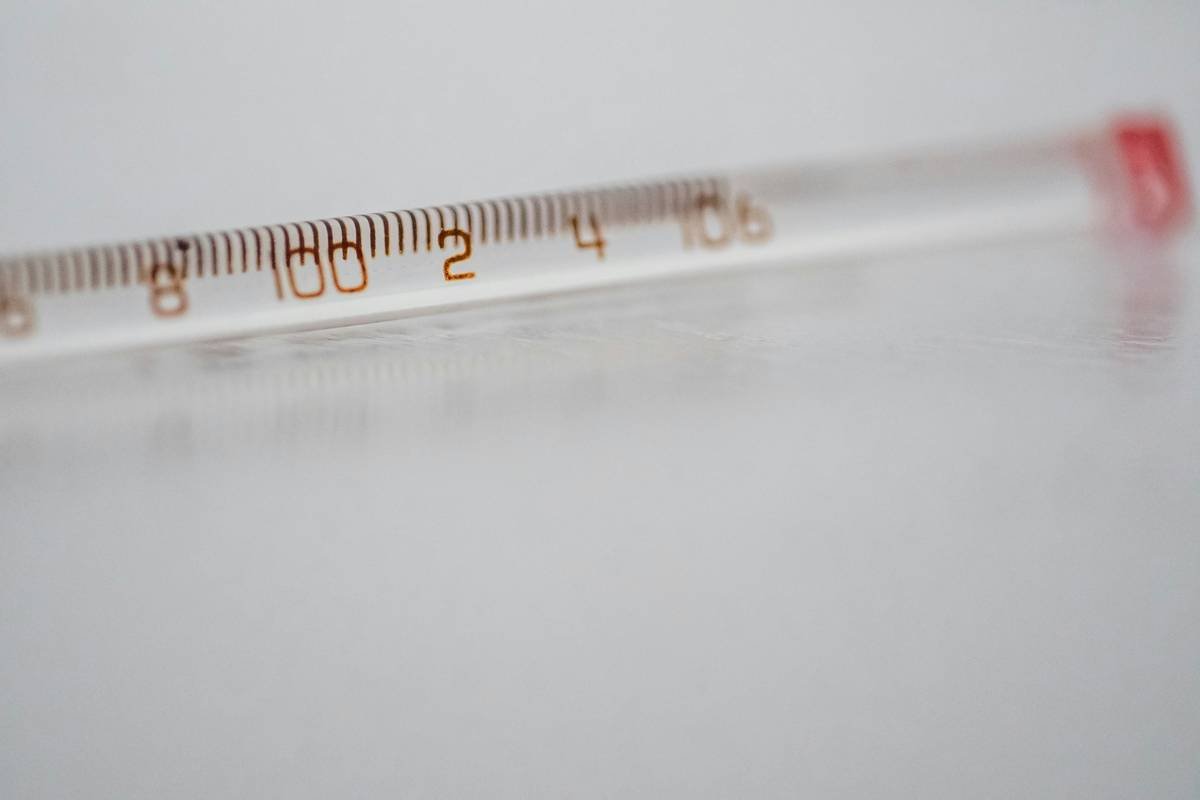
Forget eyeballing stages like “soft ball” or “hard crack.” Those are unreliable without experience—and even then, they’re affected by altitude, pot material, and stove type. Use a digital probe thermometer clipped to the pan, and never stir once sugar dissolves.
Selecting the Right Sugar Base
For clear, glass-like shapes (think windows on gingerbread houses), use pure sucrose syrup. For opaque, matte finishes like gumdrops or molded fruits, invert sugar or corn syrup stabilizes texture and prevents crystallization.
Temperature Control Is Non-Negotiable
Candy stages aren’t suggestions—they’re chemical thresholds. 300°F (hard crack) gives you snap. 240°F (firm ball) yields bendable pulls for ribbons. Go 10 degrees over? Bitter notes creep in. Under? Sticky failure.
Molding & Setting Techniques
Pour hot syrup onto silicone mats—not parchment. Parchment traps steam, creating cloudy spots. For 3D elements like roses, work fast between 270–290°F. Below that, it sets too quickly; above, it scorches. And always pre-warm molds slightly—cold surfaces cause thermal shock and cracks.
| Decoration Type | Ideal Temp Range | Key Tool | Avg. Set Time |
|---|---|---|---|
| Spun Sugar Webs | 290–300°F | Fork + Heat-Resistant Gloves | Under 60 sec |
| Molded Hard Candy Shapes | 295–310°F | Silicone Mold + Candy Thermometer | 8–12 min |
| Soft-Pull Ribbons | 240–245°F | Marble Slab + Scissors | 2–3 min |
The Industry Secret: Why Pros Never Boil Sugar Alone
Here’s what commercial confectioners won’t tell you: adding ¼ teaspoon of cream of tartar per cup of sugar isn’t just for preventing crystals—it alters the glass transition point. The acid partially inverts sucrose into glucose and fructose, which lowers the working temperature by 8–12°F while improving gloss and reducing brittleness.
Think about it. That slight tweak means you can pull delicate strands at 280°F instead of 290°F—giving you extra seconds before solidification kicks in. More control. Less stress. Better outcomes. It’s chemistry disguised as a pantry staple.
FAQ
Can I reuse failed candy decorations?
Yes—re-melt scraps gently over low heat with 1 tsp water per cup. Don’t overheat; residual colorants may darken.
Do I need a special thermometer?
A digital instant-read or clip-on candy thermometer is essential. Oven thermometers lack speed; meat probes aren’t precise enough below 200°F.
Why do my decorations get sticky after a day?
Humidity absorption. Store finished pieces in an airtight container with food-safe desiccant packs—not rice, which adds odor.